
Planning a Backpacking Trip Soon?
So you are planning a backpacking trip to hike some high-altitude peaks but are not sure what to bring with you to make the trek as comfortable as possible? Well, you have come to the right place! This High Altitude Backpacking Checklist will make sure that you have everything covered for your upcoming backpacking trip. This backpacking checklist is both applicable for summer and winter as the alpine conditions up high are very similar, just adjust it to your needs or make the right call.
Backpacking Checklist
When planning a past trip to the Purcell mountains with my friends, I decided to create a backpacking checklist for everything we needed for backpacking in high-altitude mountains. Places like this tend to be pretty remote, so you want to make sure you are safe and well-prepared beforehand. I wanted to share this guide with you so that you can plan your own trip and make sure you have everything you need for backpacking!
This list is for everyone, including those on a budget or beginner hikers who want to venture out into the backcountry or are just getting into backpacking. While backpacking and hiking gear can be expensive, there are some tips you can follow to get everything you need on a budget for your backpacking checklist.
Tips to find Gear on a Budget for Hiking and Backpacking
Ever since I started hiking and backpacking I was always curious about how everyone could afford to do it. But what I learned was that it takes time (sometimes years!) to build up a good backpacking gear collection. I have learned some tips and tricks along the way to help you build up a gear list.
Here are some ways that I have learned where you can save on hiking and backpacking gear:
✅ Buy Used Gear: look on Facebook Marketplace for used gear, you will be surprised by what kind of deals and items you will be able to find.
✅ Wait for Clearance or Sales: A lot of online shops and stores will have seasonal sales to sell off items in between seasons. Most of the time they will be marked down a lot and you will be able to snag some good deals. I recommend checking MEC, Atmosphere, Sail, and Altitude Sports. I would still recommend that for some items you buy quality pieces so that they will last you a long time before replacing them.
✅ Ask Friends and Family: Ask to borrow gear from your friends and family. This can be a great way to test out items before you buy and save some money! I always keep extra items in my gear list in case my friends or family need to borrow anything.
✅ Rent Gear: Some shops will let you rent gear, this can also be a good way to test out what brands you like before buying and a great option if you don’t backpack a lot and want to save some money.
Now that you know some ways you can save on your gear for your backpacking checklist! I will guide you on what to bring and pack for your backpacking adventures to help keep you safe and comfortable outdoors.
The Essentials Checklist
Ten Essentials:
The very first thing you should know about hiking and going into the backcountry are the ten essentials. These items are a must-carry for every hiker and backpacker and will help you in an emergency if you ever have one. This is in addition to the backpacking checklist. It’s always safer to be prepared on the trail. You can split these items with your hiking group, but it is better if everyone brings their own in case more than one person needs care.
I have included a list of the 10 Essentials:
✅ Navigation
You always want to make sure that you minimize your chances of getting lost by carrying a map or an app with offline maps downloaded on it. I like to use Gaia Maps as you can save and download GPX trails, view logging roads, and get trail information. A GPS is also handy as it would give you trail information and you can use waypoints and have communication as well as mapping features depending on which one you get.
✅ Nutrition
Nutrition is so important when hiking, it fuels your body so you have enough energy to hike. It’s important to always pack more food than you need in case you have to spend another night in an emergency. I’ll mention more about food and some ideas about what you can bring later on.
✅ Hydration
Proper hydration is another important one, you want to make sure you stay hydrated throughout your hike. Bring a water bottle or a hydration bladder to carry your water in. You want to carry enough water or bring a water filter with you as it will save you weight as you can filter water in streams if you run out. I also like to take electrolytes with me to stop dehydration.
✅ Insulation
Wearing proper layers that are moisture-wicking will help keep your body insulated when it’s cold outside when hiking or backpacking. It’s important to pack extra clothing if you need to layer up later on for your outdoor adventure as the weather can change quickly.
✅ Sun Protection
It’s important to always stay protected from the sun when you are outside for too long from harmful UV rays. Wearing sunscreen when outdoors greatly reduces your risk of sunburn and skin cancer. You also want to have a pair of sunglasses, lip balm, and a hat handy to protect your eyes, lips, and head from the sun’s UV rays while hiking or backpacking.
✅ Light source
An important piece of gear to carry is a headlamp, or a flashlight with spare batteries. You will need a light source for hiking and backpacking as you can get caught in the dark on a hike, and for backpacking at night when you need light to move around and see what’s around you.
✅ First-aid kit
A first-aid kit is important to add to your gear collection as you may need it if you or your friends get injured on your backpacking trip. You can also add bug spray to your kit as you will need it in the wilderness to fight off mosquitoes and horseflies and prevent yourself from getting major bug bites. I also recommend adding an afterbite item to your first aid kit.
✅ Fire source
A fire starter is important to have with you if you get lost, delayed, or trapped during your backpacking trip because you may need to start a fire for warmth or food. I usually carry waterproof matches in my kit for emergencies.
✅ Repair kit and tools
A repair kit is handy to have with you if your gear fails, you will have the tools or supplies to repair it on the spot. Things you can carry would vary depending on your gear, but some examples are multi-tool, scissors, knife, duct tape, cable ties, screwdriver, pliers, and a little shovel/trowel and gear tape.
✅ Emergency Shelter/Tarp
The last important item you want to have with you is an emergency blanket. This important item will give you warmth and protection from the elements if you get injured or stuck overnight on your trip.
Additional items you may want to carry and can be important are communication devices such as the Garmin InReach Mini 2 and a whistle to communicate with others in case of an emergency.
Leave No Trace Principles
I would also like to remind you that it is important when you are out hiking and backpacking in the backcountry to know about the 7 Principles of Leave No Trace. You can educate yourself on them and how you can leave no trace in the backcountry here.
Wildlife Encounters
While it is unlikely you will have a wildlife encounter, it is still quite possible the more you venture into the backcountry and go more remote. When you are out in the backcountry and hiking into higher elevations, it is important to carry a form of protection from wildlife such as bears and cougars. I carry bear spray with me. You want to be able to educate yourself before you hit the trails on how to properly use and store bear spray.
There are holsters available to carry that protect them from damage or from accidentally spraying you. You always want the sprayer to face away from your body. This bear holster comes with a bear horn and bear bangers which some people choose to carry for extra protection and can be very helpful. You can also choose to carry a bear bell to make noise as you walk. I usually make a lot of noise when hiking through bushes, at night, or on narrow trails to let wildlife know that I am passing. You can read more on backpacking in Bear Country here and learn how to protect yourself.
Gear for your Hiking and Backpacking Checklist
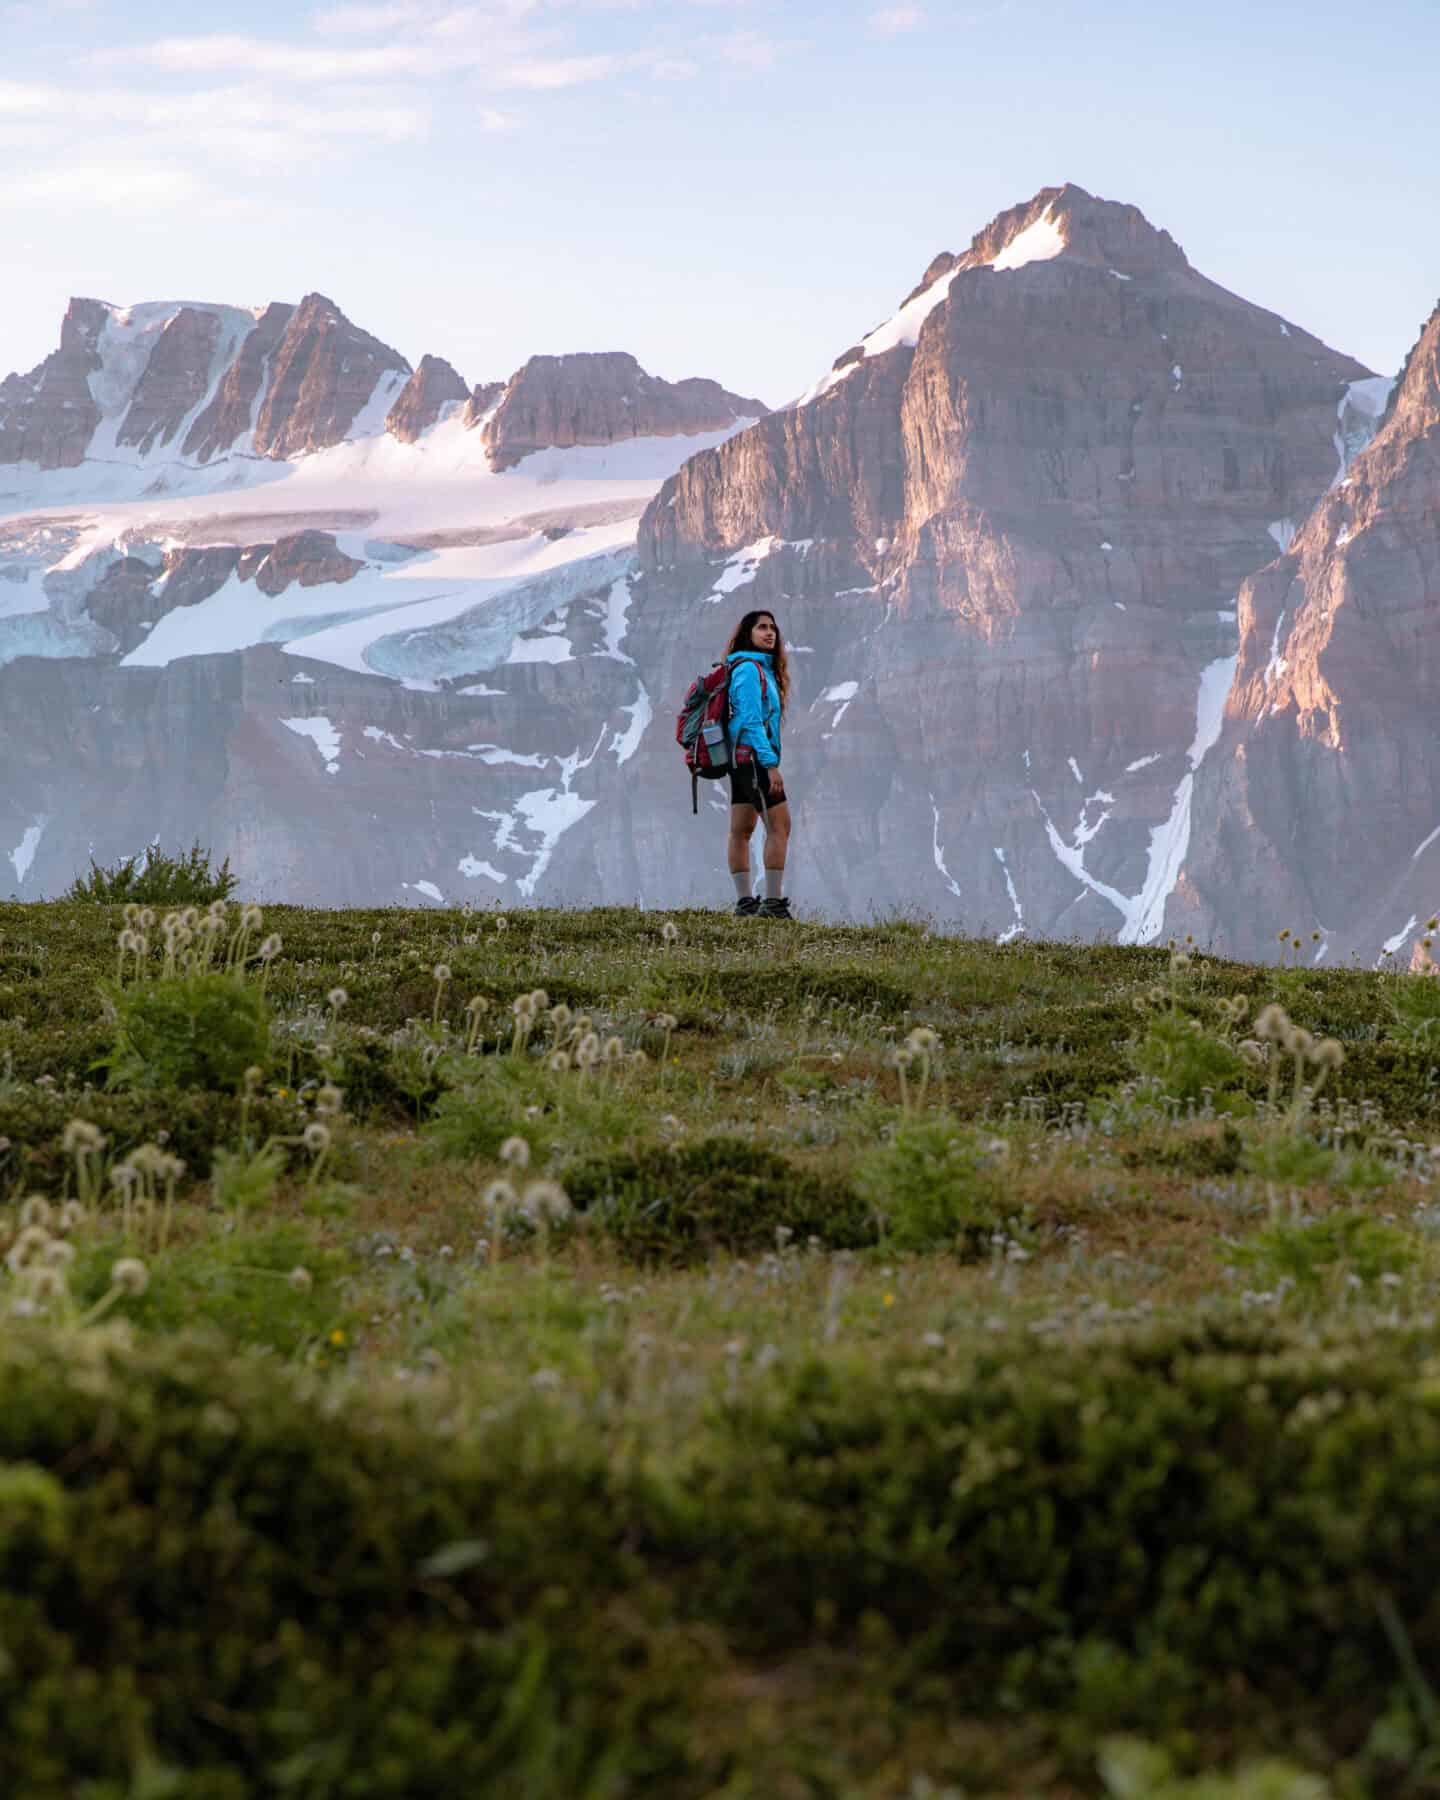
✅ Backpack
The very first thing you want to make sure you have is a backpack that can fit all your items inside. The right size will depend on how much you want to carry and how many days you will be going on your trip. I like to stick to a 35-40L backpack for a short trip that’s 1-3 days or if you are splitting weight with someone else. For longer days I would recommend something that goes up to 60L as you will be carrying more food and water weight. You can also go into the store and get advice on the best fit and size for your body proportion. You want to make sure the pack sits comfortably with your back so you don’t have any back issues later on with an ill-fitting one.
Some of the brands I recommend are the Gregory backpacks as they are quite standard and comfortable with a wide variety of selections. Osprey also has some higher-quality backpacks for backpacking and for day trips. I really like the Osprey Kyte Series due to their women’s fits and practicality. You can grab the 56L backpack from MEC. You can also look on Marketplace for some used backpacks as a lot of people tend to upgrade and list their old ones which will still be in pretty decent shape. The bag you use should also come with a rain cover that will protect your bag in wet weather. You can also buy a rain cover separately if your backpack doesn’t already include one, so you can choose the size yourself, (I like to go a little bigger so it covers everything).
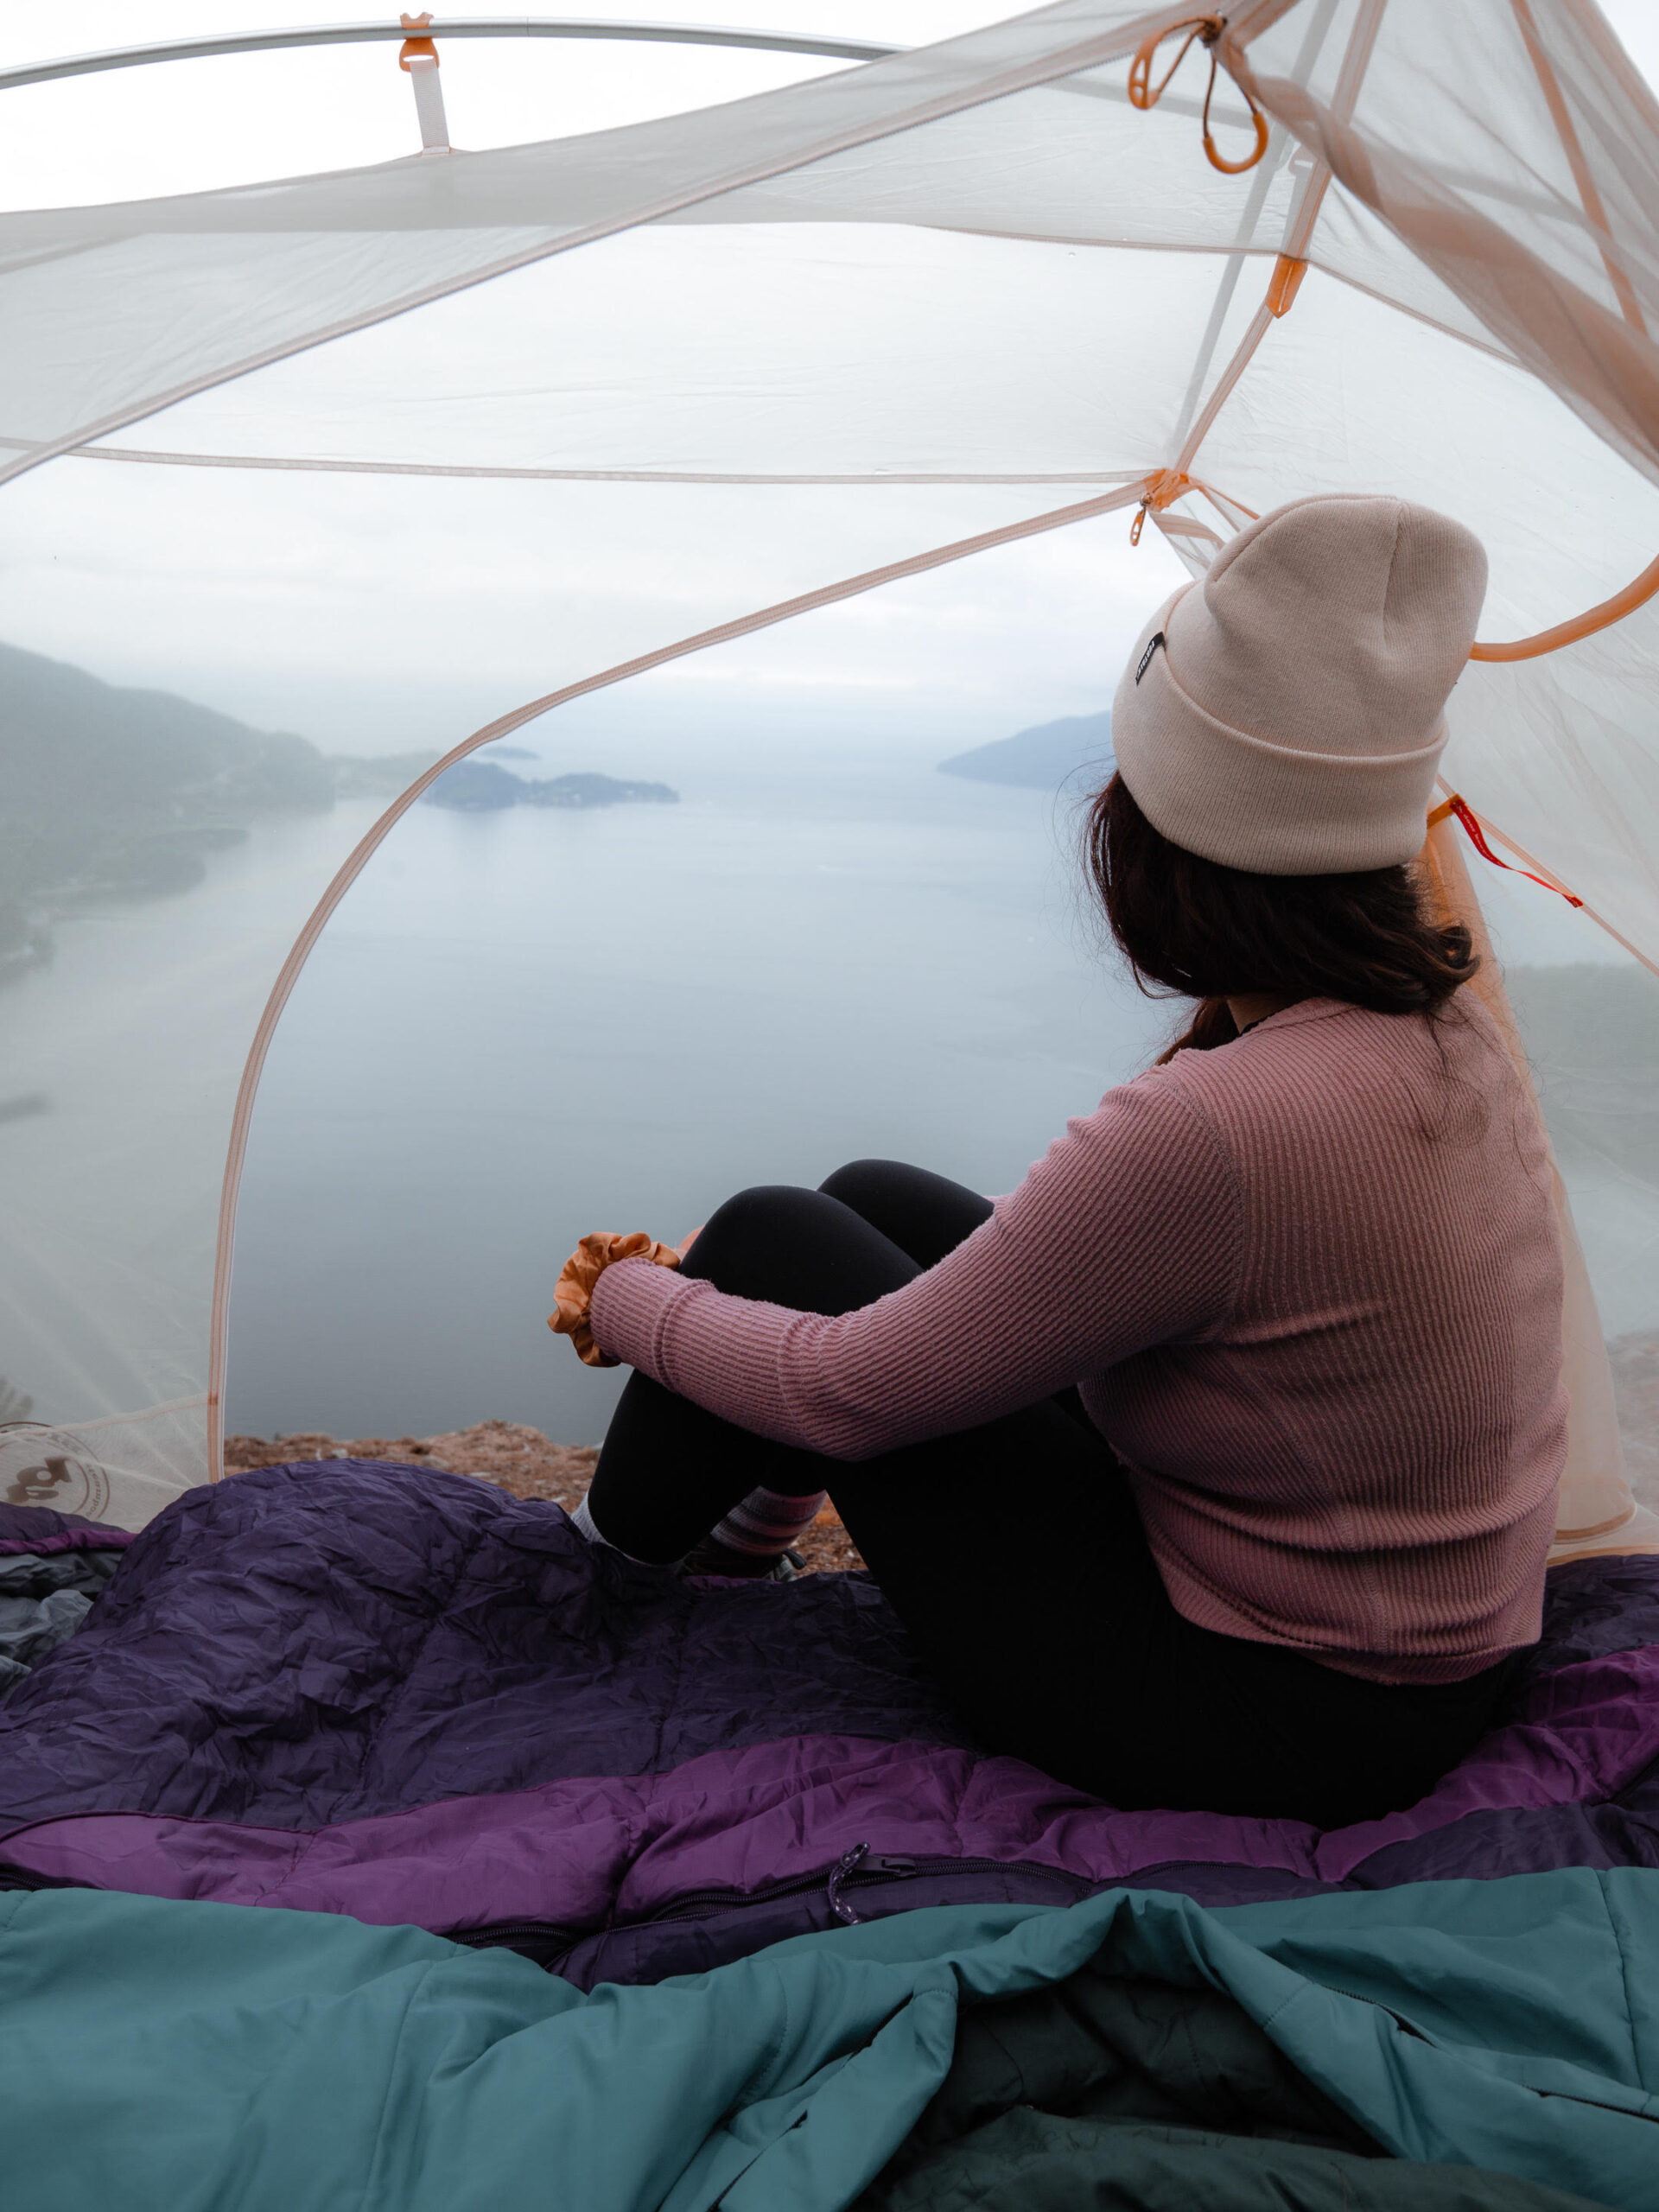
✅ Tent
Having a good lightweight tent is important when you are backpacking especially for higher altitudes and longer trips as it can help lighten the load of your pack drastically. When looking for a tent, you want to make sure you follow some guidelines to help you with your decision to buy a tent. First, you want to make sure that there is enough ventilation in the tent by looking out for mesh panels. This will also keep the bugs out (they are bad this season!).
Second, you want a tent that has more upright walls, this will give you more headspace and more room inside the tent to move around freely. Finally, the one thing you want to make sure of is that the poles the tent comes with are lightweight as they can be the heaviest part you can always buy lighter poles if you already have a tent and switch them out.
In addition, you want to make sure the tent is fully waterproof as the conditions in the backcountry vary and are unpredictable. A good waterproof tent will protect you from rain or if you get caught in a storm during your trip. It also makes sense to buy a footprint for your tent if you are caught in the rain or have to pitch on a rocky area to protect the floor of your tent.
Big Agnes makes really good lightweight tents as well as other great stuff like their sleeping bags. Their tents are unique and ultra lightweight compared to the popular MSR Hubba Hubba and if you want to be different from everyone else on the trails!
I have the Big Agnes Tiger Wall UL Solution Dye 2-Person Tent and love it. It can be free-standing but you have to peg the foot corners which I usually don’t do unless it is windy. It only weighs 2.49 lbs so I barely feel it when I carry it. It is a beautiful colour and looks great in pictures. I also love that it’s solution-dyed and uses less energy to make than other tents. You don’t need the lightest tent, it depends on the rest of your items and how much you’re willing to carry. Note: the lighter the tent is the more it will cost you. I started with a heavier tent and made the switch when I could afford to upgrade. You can also split the weight with a friend if you decide to go with another tent to reduce the weight.
✅ Sleeping Bag
A good-rated sleeping bag is really important as it will keep you warm high up in the mountains. There are a variety of sleeping bags available on the market including synthetic and down as well as different ratings for all seasons. I prefer synthetic as it goes with my values and find it’s on the cheaper side than down material. It also packs down pretty well. The one I started with is the Mountain Warehouse Basecamp 250 Sleeping Bag. This one is warm enough for 3 seasons from spring to fall.
✅ Sleep Pad
A sleeping pad is important to keep you off the ground and provide insulation from the cold. There are many different types of pads made from foam all the way to inflatable ones. You don’t need to spend a crazy amount on one. I actually got a Self Inflatable Sleeping Pad on Amazon. It also has a built-in pillow which is great and comes with a foot pump attached to it!
✅ Camp Pillow
A pillow will provide you comfort and prevent a stiff neck in the morning. I have a pillow but I use it occasionally as the sleeping pad I have comes with one built in. The one I have is from Naturehike, while the exact one I have is not available anymore here is an upgraded one that is self-inflating. MEC also has a great pillow that feels like a regular pillow with all the comfort if you are opting for a comfier option.
✅ Water Filter
One thing that is so important for your backpacking checklist is having a source of clean water. Carrying a water filter is essential for me as I go through a lot of water, especially in the summer months and doing long trips. In higher elevations, you will find water sources such as lakes, streams, or creeks. You will need to filter this water for drinking to get rid of parasites/bacteria that you cannot see.
I have the Sawyer Mini Water Filter and it’s so tiny it takes no space in your pack! I use it with a Hydrapak Stow Bottle 500ml. The head is 28mm and fits the filter for filtering as I don’t like the squeeze pouch that comes with the original filter; it also comes in a 1L size. It holds more water to filter easily and is collapsible so that you can stow it in your pack.
✅ Water Bladder or Bottle
A water bladder is a good choice for backpacking as it takes away the need to reach for a bottle and provides a better distribution of water weight on your pack. It will also hold more water than a regular bottle. The one I have been using for a couple of years now with no leakage is similar to this budget-friendly water bladder that I got from Amazon. I also carry a water bottle sometimes. And of course, you need something to hold the water that you filter. I have the Nalgene Sustain Water Bottle as it is so lightweight and has a big mouth for easy filtering.
I also have the Hydrapak Seeker Water Container 2L in case I need to carry or store more water. I will bring it with me for longer backpacking trips and it is really handy to keep around if we need to hike and grab water from a lake or steam and go back to camp to filter it for drinking/cooking. For the water filter, I use a mini one, it is convenient to use, I use it with the Hydra pack stow bottle as it is portable. This one you can easily attach to the outside of your pack as well during backpacking.
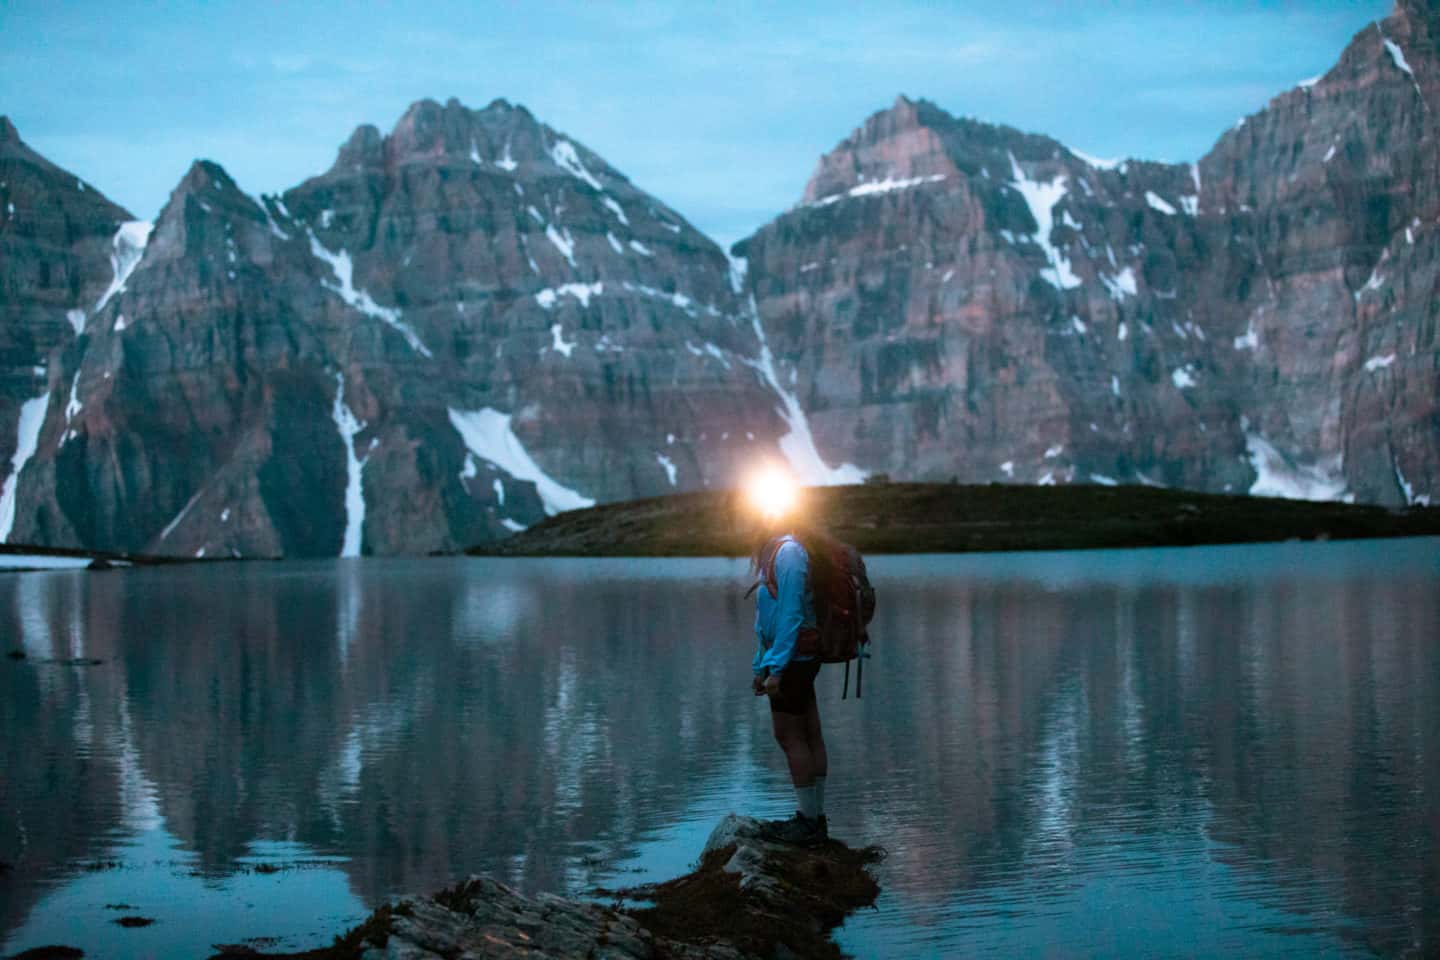
✅ Headlamp
A headlamp is so important to have in your gear kit for both hiking and backpacking. You will need it to hike in the dark, move around at night, and as a hands-free flashlight around camp. I used the Energizer Headlamp a lot which is reliable and pretty bright. I also have the Black Diamond Cosmo 300 Headlamp which I got recently. This one is ultra bright and lights up the entire trail at night. There are different settings for the intensity as well as the red night vision.
All my headlamps are battery operated as they last longer and you can easily switch out the batteries when needed. It’s good to carry extra batteries with you (and carrying an extra headlamp doesn’t hurt either). I have seen my friends struggle with rechargeable ones as they don’t last as long and die fast. So I like that I can also offer them one of mine if needed.
✅ Hiking Poles
Hiking poles are a must to distribute the load off your legs and prevent injury to your tendons and muscles especially when backpacking with heavy loads on steeper grades of terrain. Before I got my poles a couple of years back I thought they were not as important, but after using some for a while now, I realized that they are a lifesaver! There are many different types of poles available from ones with cork handles, and collapsible poles to lightweight aluminum ones.
I have the Women’s Black Diamond Trail Trek Poles and they are still holding up. I have abused them through many different types of terrain and they have lasted me so far. They are super sturdy and really take the weight off your knees when going downhill. They are also lightweight compared to my friends so I barely feel them when I put them in my pack to carry. I have watched my friends get cheaper ones and have broken them way quicker, as well as struggled without hiking poles. So if you want something that lasts I definitely recommend them, your legs will thank you and you will be glad you added them to your backpacking checklist!
Kitchen Checklist for Backpacking
✅ Kitchen Utensils
For your kitchen gear on your backpacking checklist, you want to make sure you have a stove in your gear kit. The type depends on if you plan to cook meals or just boil water. I was gifted a similar stove like this one and use it for cooking food. You need to use it with a fuel canister. If I just need to boil water for dehydrated meals or tea then I use my friend’s Jet Boil Flash to boil my water super fast. In addition, I also have a camp mug with me on every trip (they are also available as an insulated version) as well as eating utensils like a spork, and bowl. You can also get a spork, bowl, and plate in one kit to take up less space in your pack.
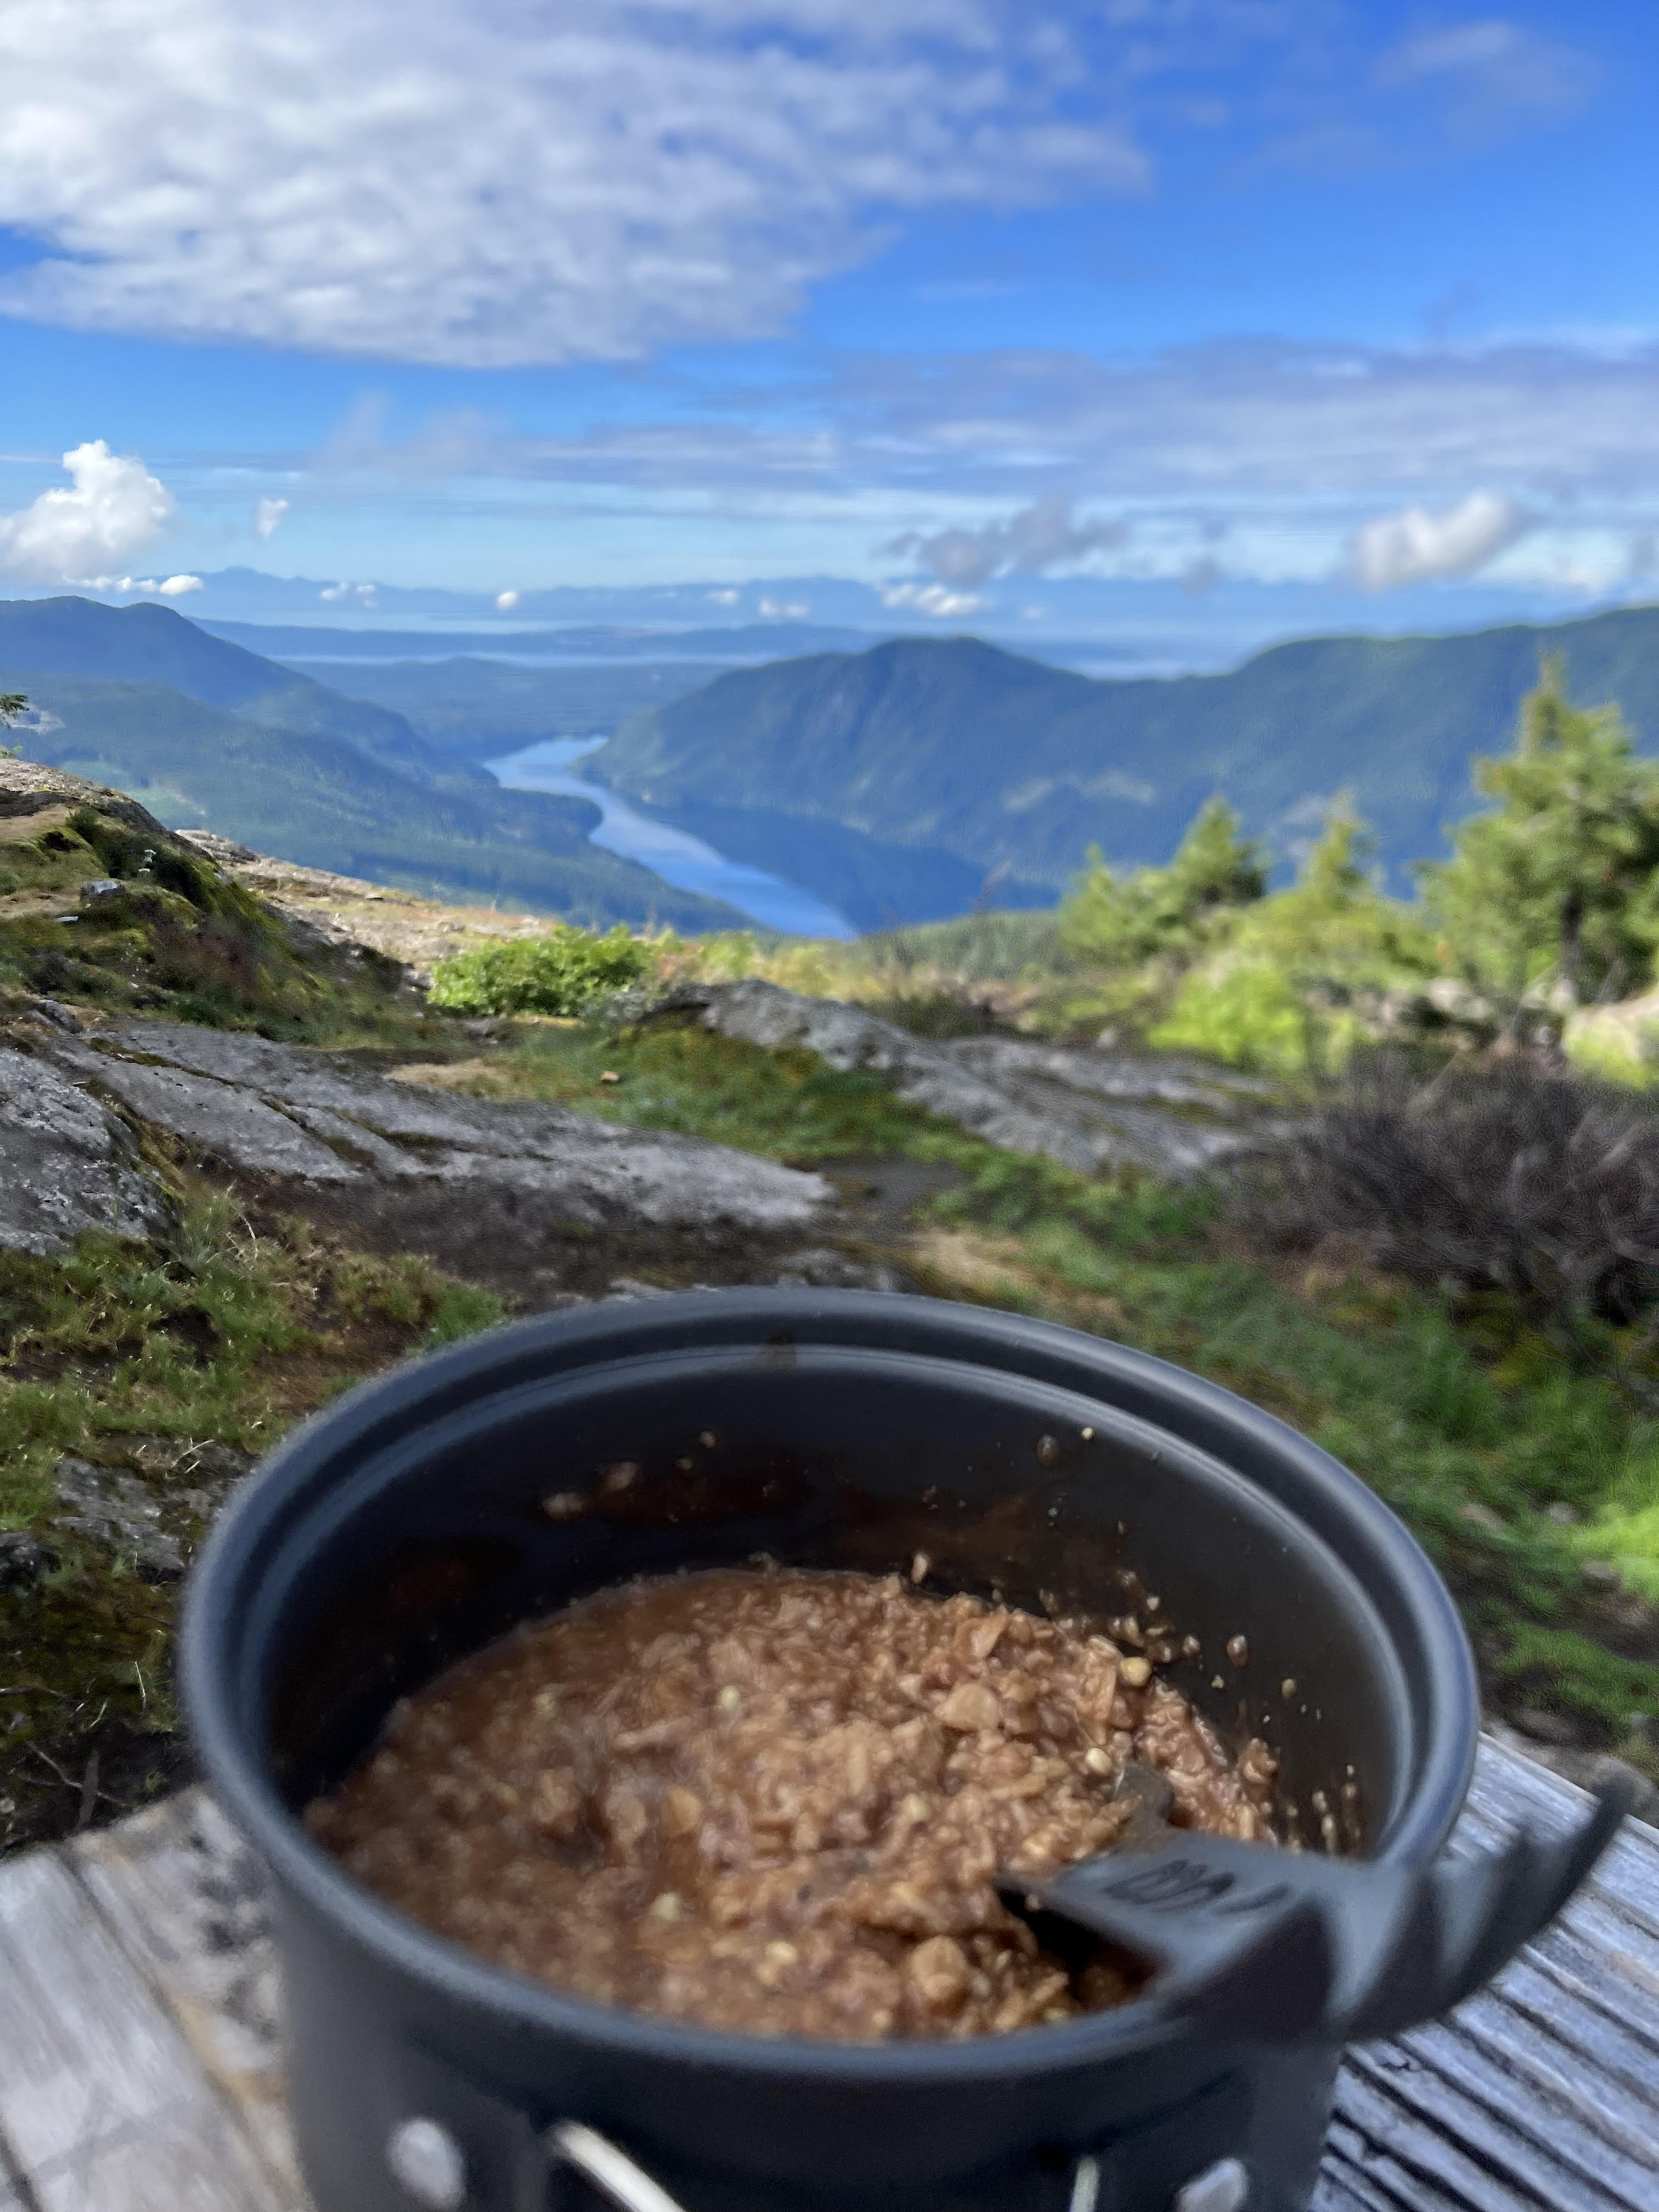
✅ Food
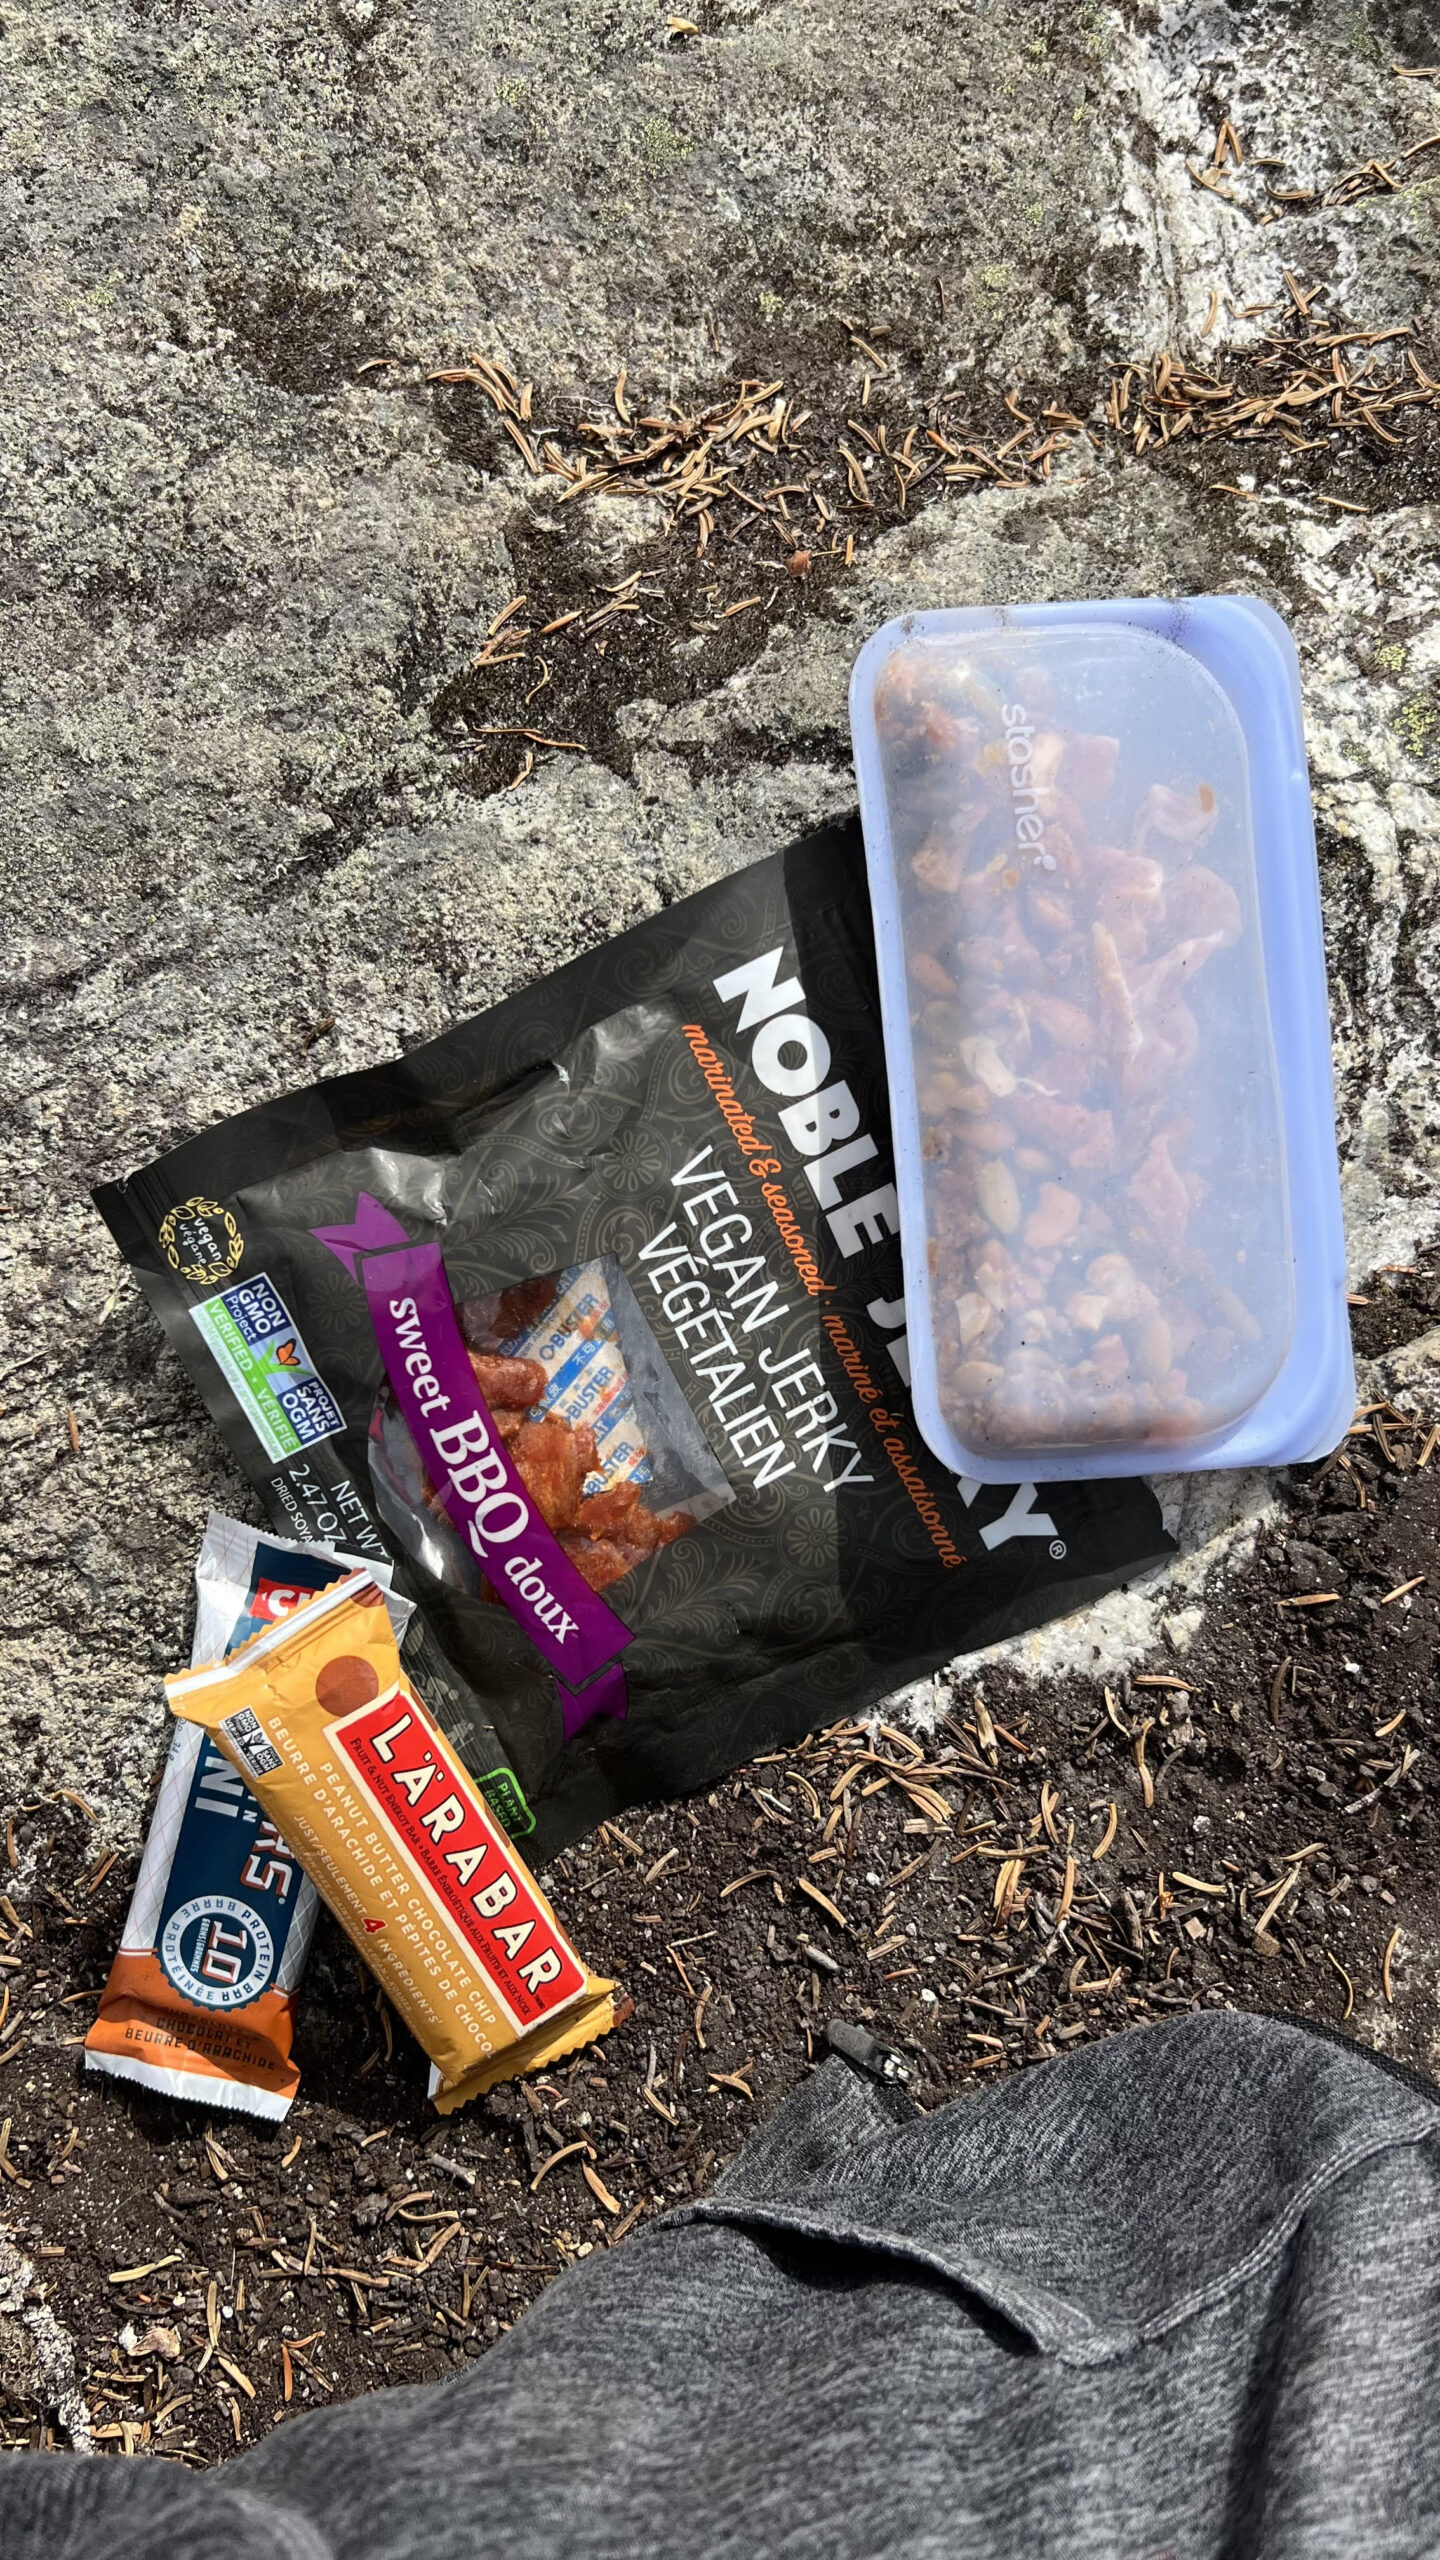
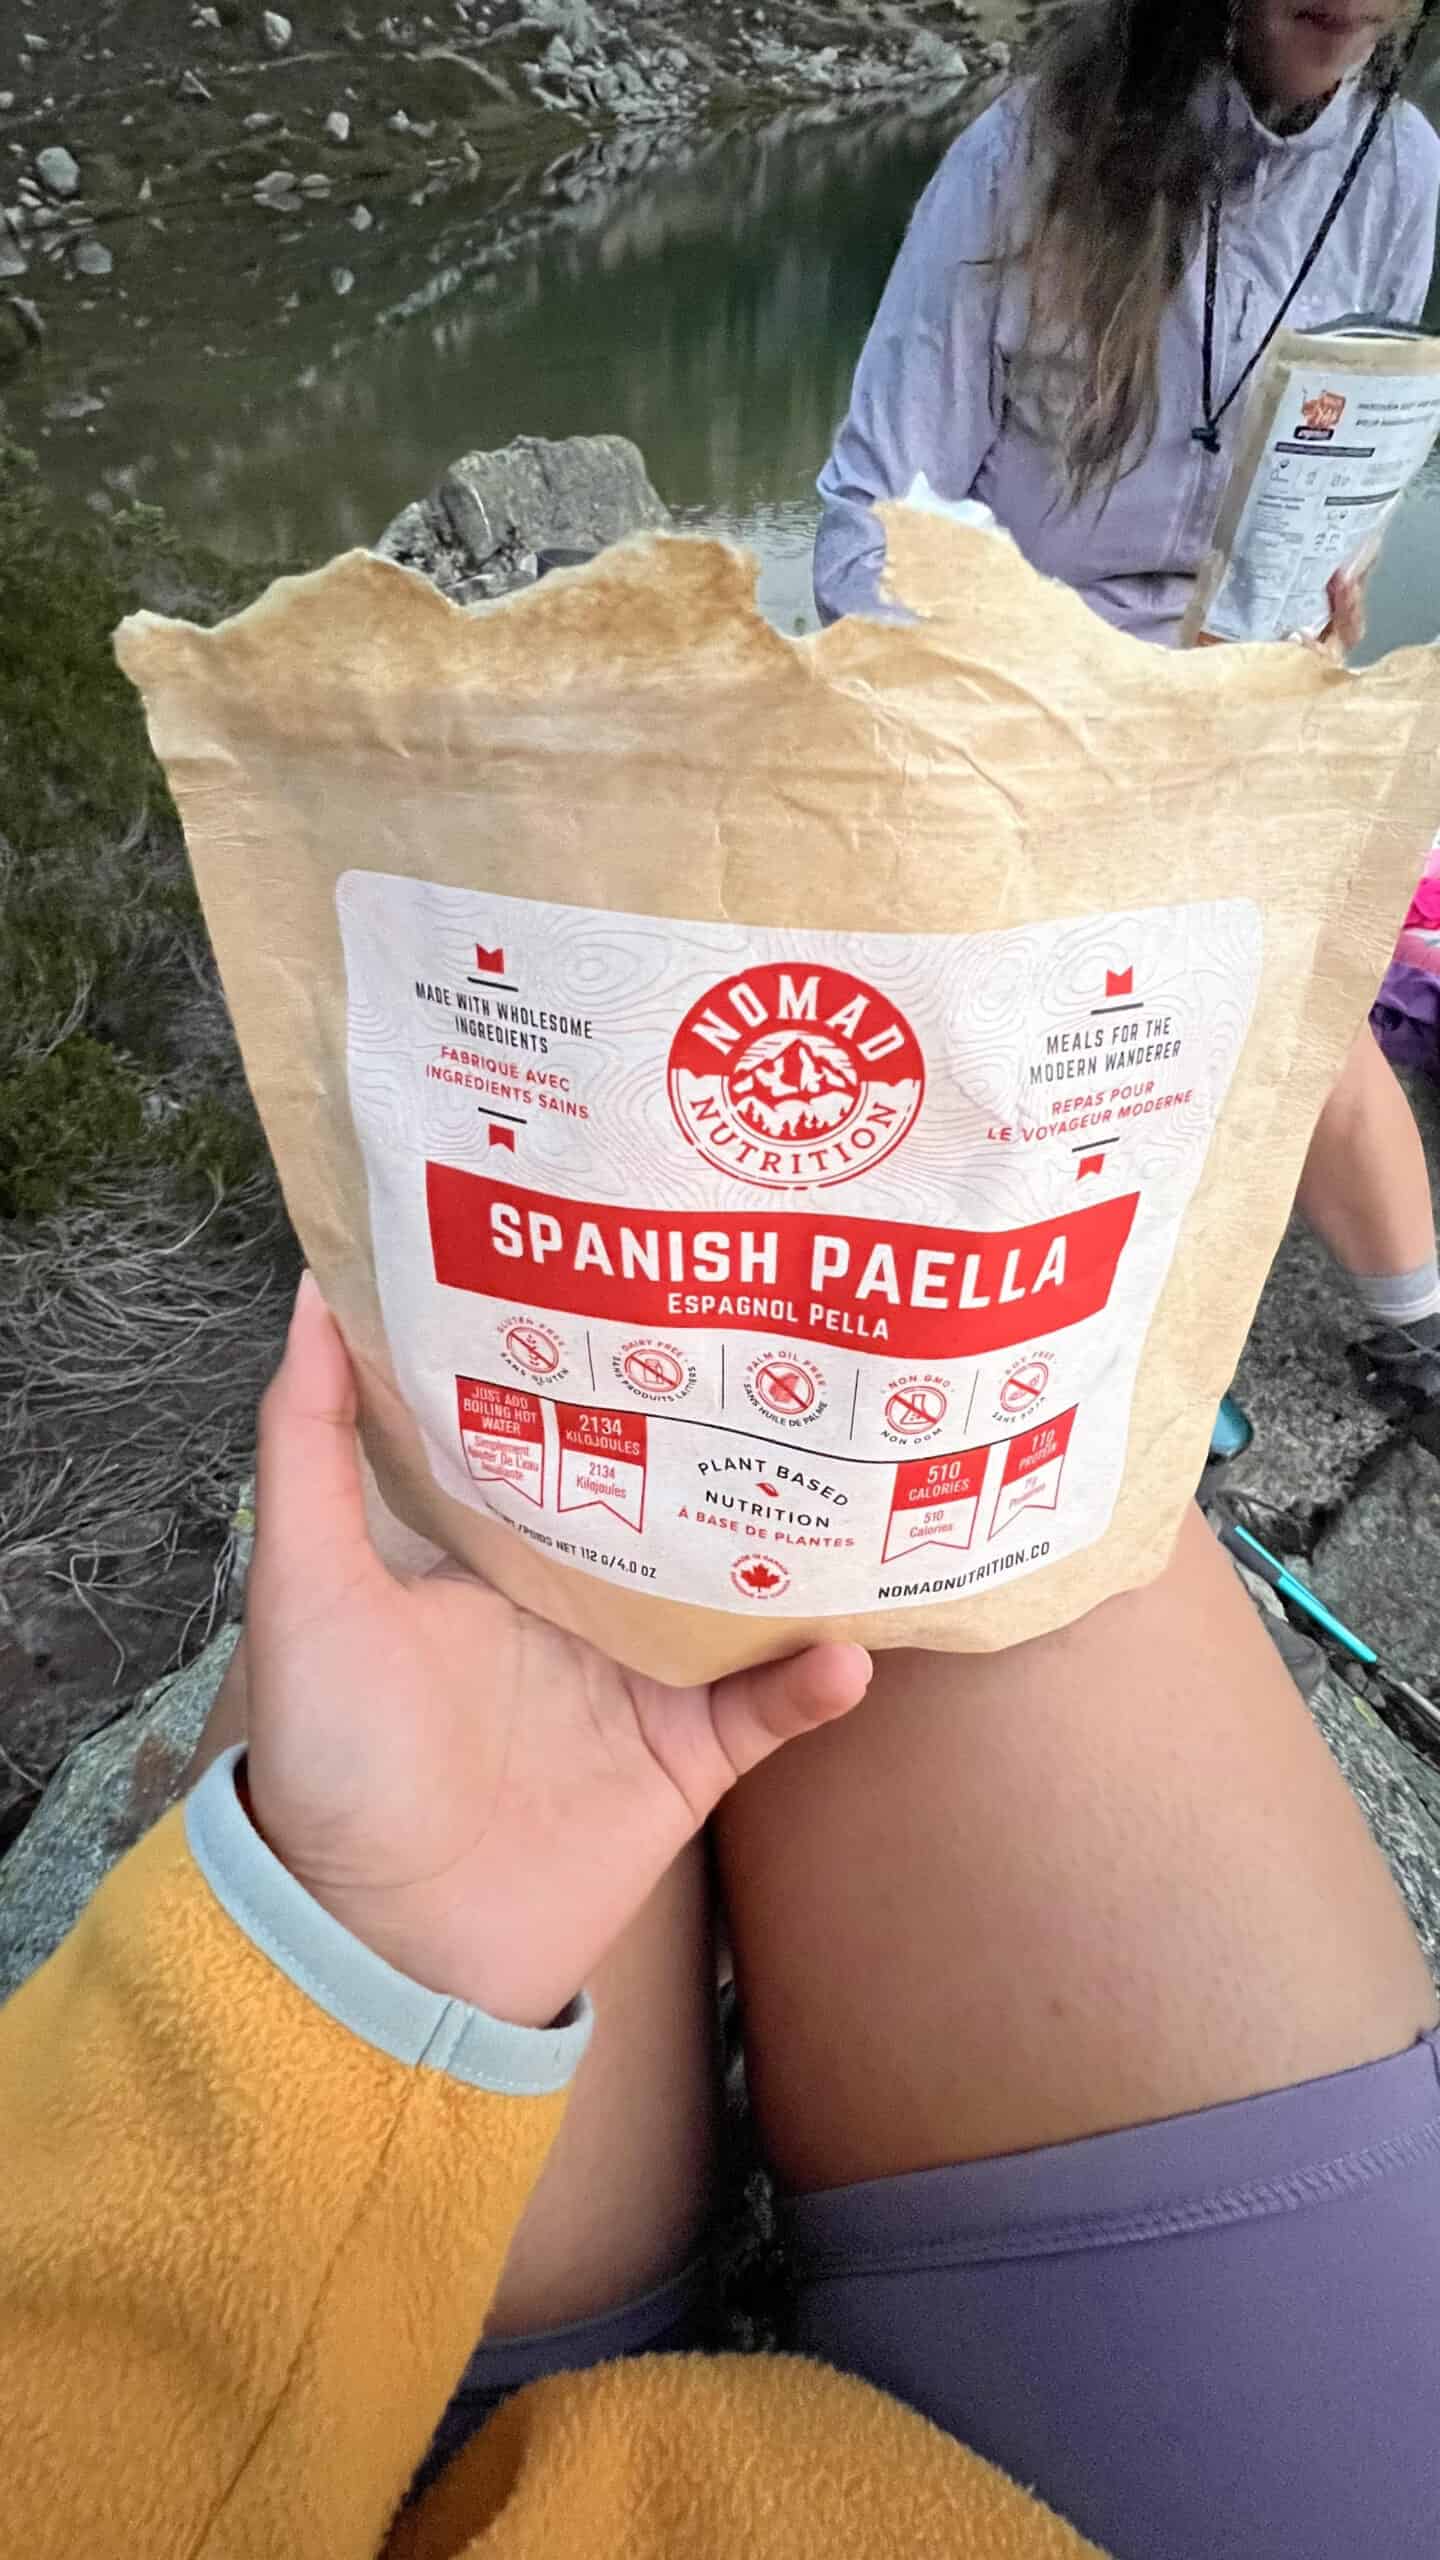
When it comes to food for your backpacking checklist, dehydrated meals are the most common and popular. All you have to do is fill the hot water. They are good as you do not need to bring extra weight with you such as a bowl or cooking supplies. Some good dehydrated meal brands are Backpacker’s Pantry, Happy Yak, Good To Go, and Peak Refuel. I also bring ramen noodle packs as a warm treat. For snacks, you want to carry food that provides energy. This includes protein bars, trail mix, nuts, seeds, dried fruits, peanut butter packs, etc. For hydration, I carry electrolytes such as Nuun, so that I can pop a tablet in my water when I need it on the trail. Make sure to carry an extra ziploc or small packable bag for garbage so you can pack out what you pack in.
Personal Hygiene Checklist for Backpacking
✅ Biodegradable Soap
It’s important to make sure that when you go backpacking you leave no trace, this includes when you want to wash your items and your hygiene. Carry biodegradable soap with you for washing your utensils and hands. I like this one as you can use it for different purposes.
✅ Toiletries
Make sure to pack the toiletries that you think you will need, including a hair brush, hair bands, nail clippers, tweezers, and lip balm. As well as your supplements and medications. It is optional to bring more toiletries such as a small hand or body lotion as your skin can get dry from the weather conditions.
✅ Toothbrush + Toothpaste Tabs
Toothpaste tabs are ideal to carry when backpacking as you would just store them in a container or your Ziploc bag and can use them without getting messy, they also pack up small and are eco-friendly. I like these ones as they are practical and taste just like toothpaste.
✅ Bathroom Supplies
For going to the washroom you can pack some toilet paper, but remember you must dig a hole and bury it if you do to leave no trace. To dig a hole you can use a trowel. There are also pee rags available now which you can reuse and attach to your backpack so it can dry in the sun. The UV rays will destroy bacteria and sanitize them for the next use.
✅ Body Wipes
Body wipes are useful when you want to quickly wipe yourself after a day’s worth of hiking, or wipe your hands or dirty gear. It will help you feel a bit cleaner before you get into your sleeping bag at night.
Clothing for your Hiking & Backpacking Checklist
✅ Packable Puffy Jacket
A packable puffy is also important to have as you can pack it down for de-layering and wear it over your layers for warmth if it gets too cold or windy. I consider a puffy jacket to be an essential piece in your hiking wardrobe as I like to wear it as an extra layer in my sleeping bag for chilly nights or pull it out for higher elevation hikes, check out the one I have here!
✅ Waterproof Shell/Rain Jacket
A good shell, windproof rain jacket will protect you and your layers from the elements and from getting wet. This is important for backpacking as the weather can be unpredictable and change especially at higher elevations. Make sure you don’t forget to pack your rain jacket like this one!
✅ Waterproof Hiking Boots
A good pair of hiking boots will keep your feet comfortable on most trails and handle the weight of your pack as well. You want to make sure the hiking boot you choose is waterproof, light, and has good traction so that you can safely hike and backpack through most terrains. I recommend Salomon boots as they are exceptionally comfortable while being durable and waterproof.
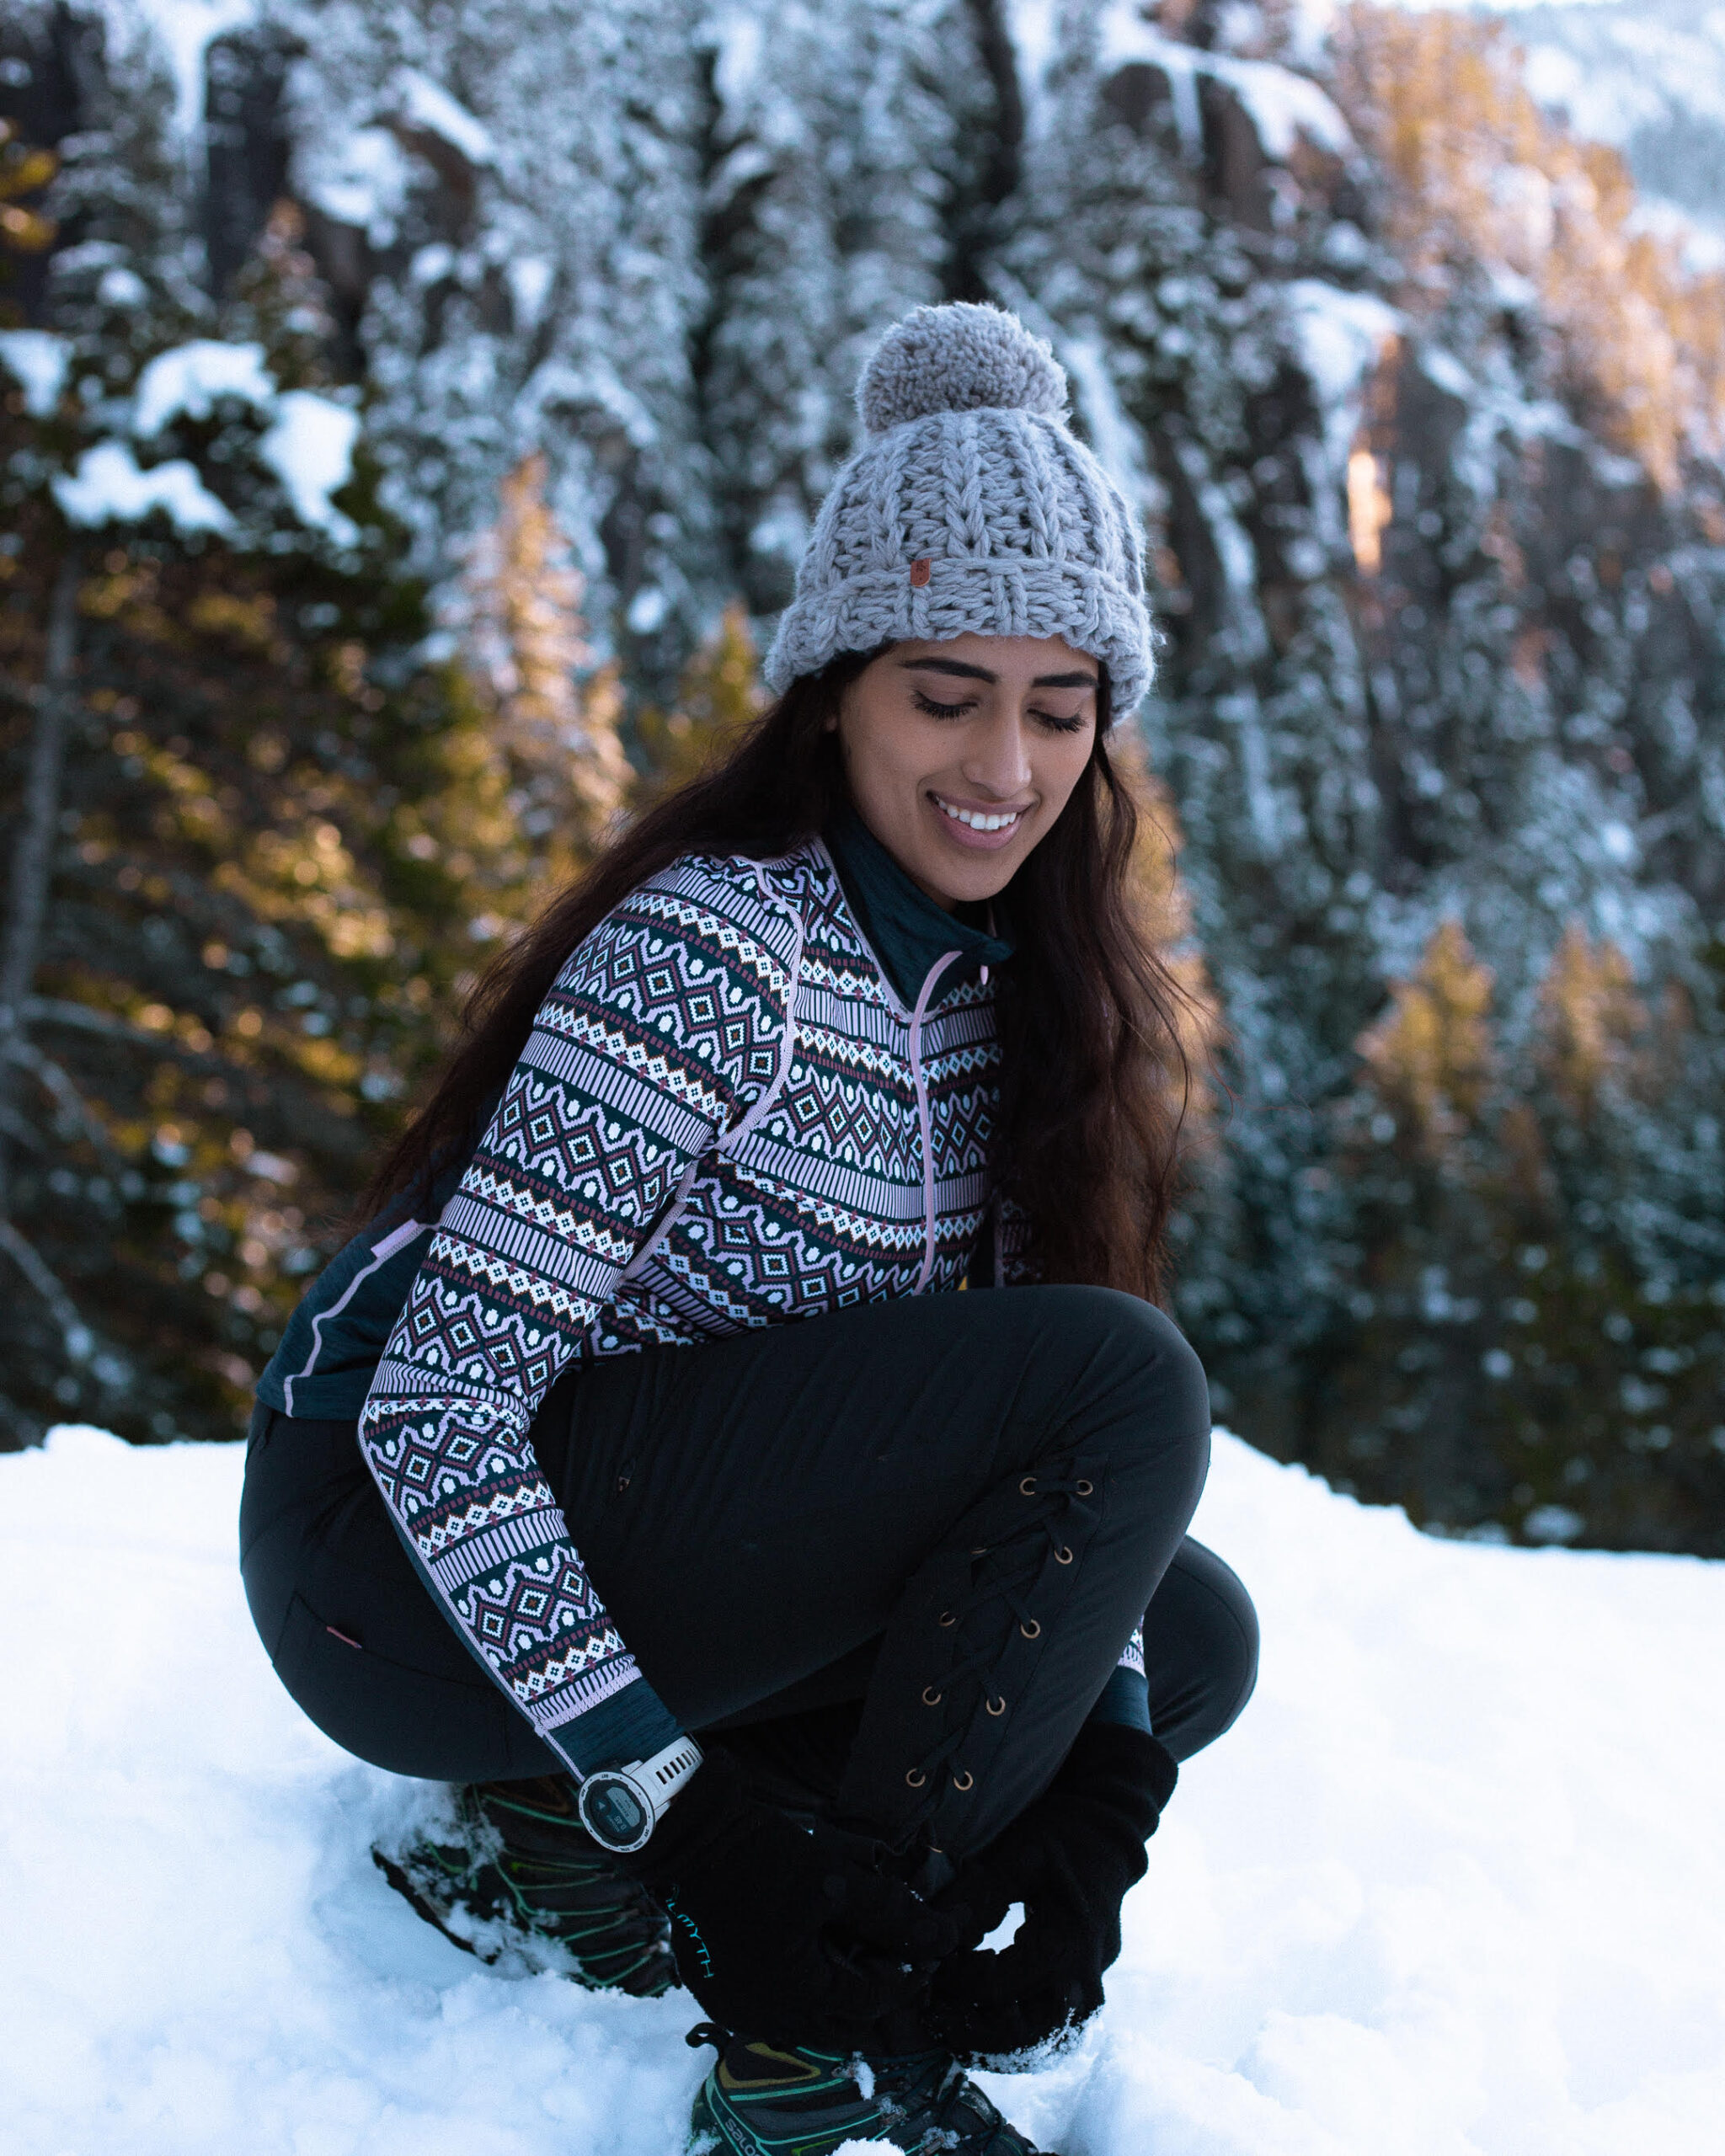
✅ Base Layers
Base layers are worn under your mid and main layers. They should be moisture-wicking and lightweight. In summer with hot weather, base layers can be worn alone that are durable such as nylon and spandex.
✅ Mid Layers
Fleece and soft shells are perfect mid-layers as they dry fast, provide a bit of water resistance, and are also lightweight. A fleece is good for most seasons as it is super light to pack but will still provide warmth and protection, like this one here. A softshell is more durable and can be used for more rigorous terrains as they can hold up well like this one.
✅ Hiking Socks
Socks made for hiking prevent your feet from too much friction and blisters. They provide extra cushioning and are long enough to prevent bug bites on your ankles.
Optional Items for your Backpacking Checklist
✅ Micro Spikes
Micro-spikes can be an important item to carry to prevent slips and falls from mud, water, and snow. You may encounter snow at higher elevations and also in the wintertime. Most of these kind of trails will be icy or covered with hard-packed snow. You will need micro-spikes to travel the terrain. (You can read more on winter hiking at the bottom of this post here)
✅ Gaiters
Gaiters are so helpful when traveling against snow, mud, and water to keep the elements out. They also provide extra insulation to your feet when it is cold.
✅ Sandals
You may want to bring a pair of sandals that can attach to your pack so that you can take a break from your hiking shoes when you settle down and find a camping site or if you want to go swimming. It can feel good to give some relief to your tired and swollen feet after a long hike. I always take my Teva sandals on backpacking trips!
✅ Hat
When it is sunny out I always wear a hat to protect my head and face from UV Rays. Sometimes there is no shade on the trails so a hat is a good way to protect yourself from sun exposure. Also, you can buy one with a detachable neck flap to prevent sunburn on your neck like this one. I also like this one as it is lightweight. I also always bring a couple of toques to sleep in or wear later on when it gets cooler.
✅ Swimsuit
Make sure to pack a swimsuit in case you want to take a dip in an alpine lake on the trail and go swimming! I always like to jump in the lake and cool off in the summer after a sweaty hike! I like this swimsuit as it is full coverage.
✅ Microfiber Travel Towel
In case you want to go swimming it’s always nice to have a towel ready. A travel towel will pack up pretty small in your backpack and not take up that much space. The microfiber material is also fast drying.
✅ Bug Repellant
This should be an important thing to pack! The bugs have gotten worse over the past few years so if you are in the alpine in the summer time you will almost always run into mosquitos and horseflies and end up with multiple bites. To prevent them I always put bug repellant before my hike under my clothes and then reapply as I sweat or as it wears off. I like the cream version as it works better and then pack a smaller spray
Now that you have this backpacking checklist, here’s to staying safe and prepared on the trails, especially high up in the mountains! You can read more about me here.