Last Updated on March 19, 2024 by Aisha Aslam
If you have traveled to Banff, Alberta then you must have heard of Kananaskis. Kananaskis Country is a little rugged region in Alberta and it’s well known (even more so now!) for its backcountry trails with endless hiking possibilities. The trails here are suited for most people whether you are a beginner or an advanced hiker. I will go through some classic and famous hikes as well as my personal favourites in this guide to inspire your next adventure!
Best time to Visit Kananaskis and its Trails
The best time to visit Kananaskis Country is in the Summer and Fall seasons when the snow has melted and the trails are ready to be hiked. Even though summer gets really busy near Banff, you can be sure to avoid crowds by visiting Kananaskis. So get away from those crowds as at Lake Louise and Banff during these seasons, and head on over to Kananaskis which is the place to check out during your visit, especially if you are an adventure lover!
Hiking the trails in Kananaskis over the years each time has left me amazed, as you are surrounded by mountain views in all directions, you are exactly right in the heart of the backcountry and can take in all the beauty of the area. Kananaskis is definitely worth visiting again and again as it is just so beautiful and worth the effort to hike the trails. There are many hiking trails from easier hikes to more challenging ones, which can be done as day hikes, overnight trips, or multi-day treks. So get ready for the ultimate backcountry adventure, with these tips, I will help you make the most of your visit to Kananaskis.
Kananaskis Conservation Pass is Required to Access Kananaskis Country
Before you head into Kananaskis or anywhere in the Bow Valley corridor, you will need a conservation pass. You can purchase single, multi-day as well and annual passes if you plan to go back within the year. The fees are used to support and maintain the area. You can get the Kananaskis Conservation Pass online here.
Kananaskis Conservation Prices:
- For a single day with a single vehicle: $15 CAD
- The annual pass with up to 2 vehicles: $90 CAD
Top-Rated Best Trails in Kananaskis
Kananaskis offers a lot of different levels of trails, from easy ones to more advanced hikes. No matter what level you are, I will be covering some hikes that most people can do! Check out the Kananaskis hikes below!
East End of Rundle (EEOR)
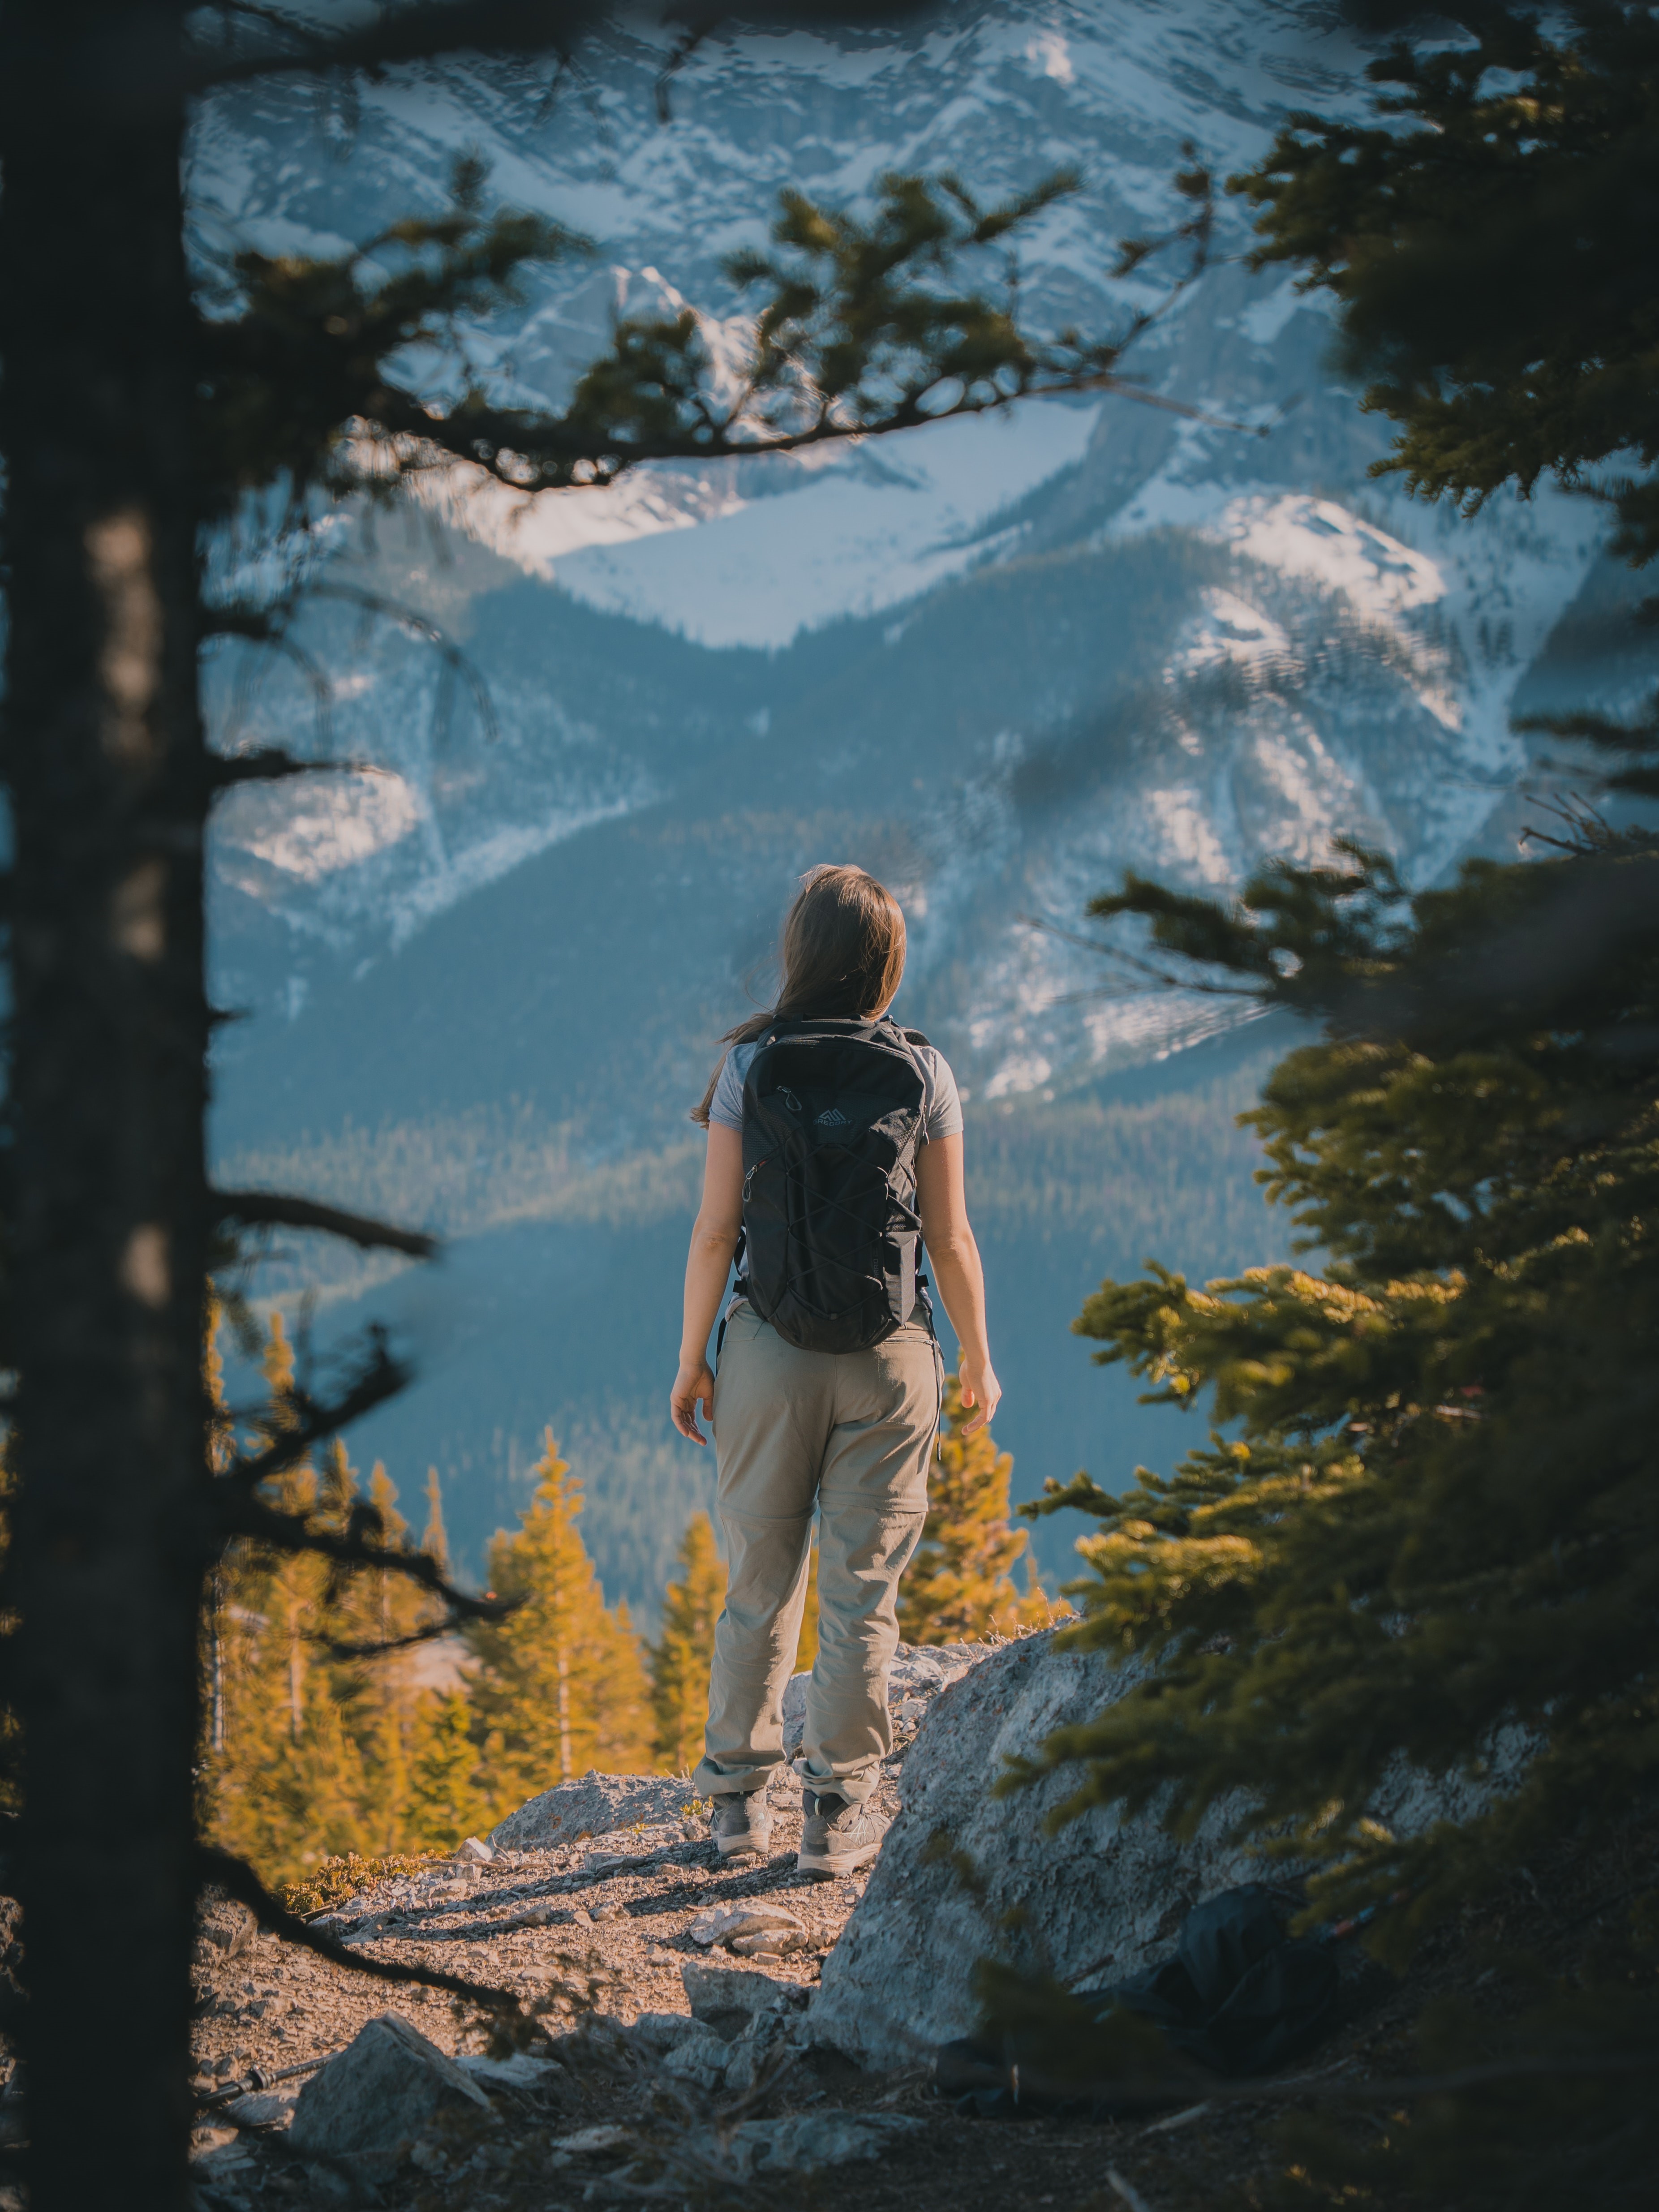
Distance: 4.8 km round trip
Elevation Gain: 823 meters
Location: Near Canmore
East End of Rundle is a popular trail that is located near Canmore and it offers some of the best mountain views in the area. Parking is right off the road to the right called the Goat Creek Parking lot. The trail starts from the side of the road that has a marker. The trail climbs steep so be ready for that and bring enough water with you.
The views are stunning once you get near the top and the terrain turns into a scramble where you will be using both hands, nothing too serious, and anyone should be able to do it at their own pace. Note that on busy days there might be loose rocks so watch out and be careful or bring a helmet for safety.
Ha Ling Peak
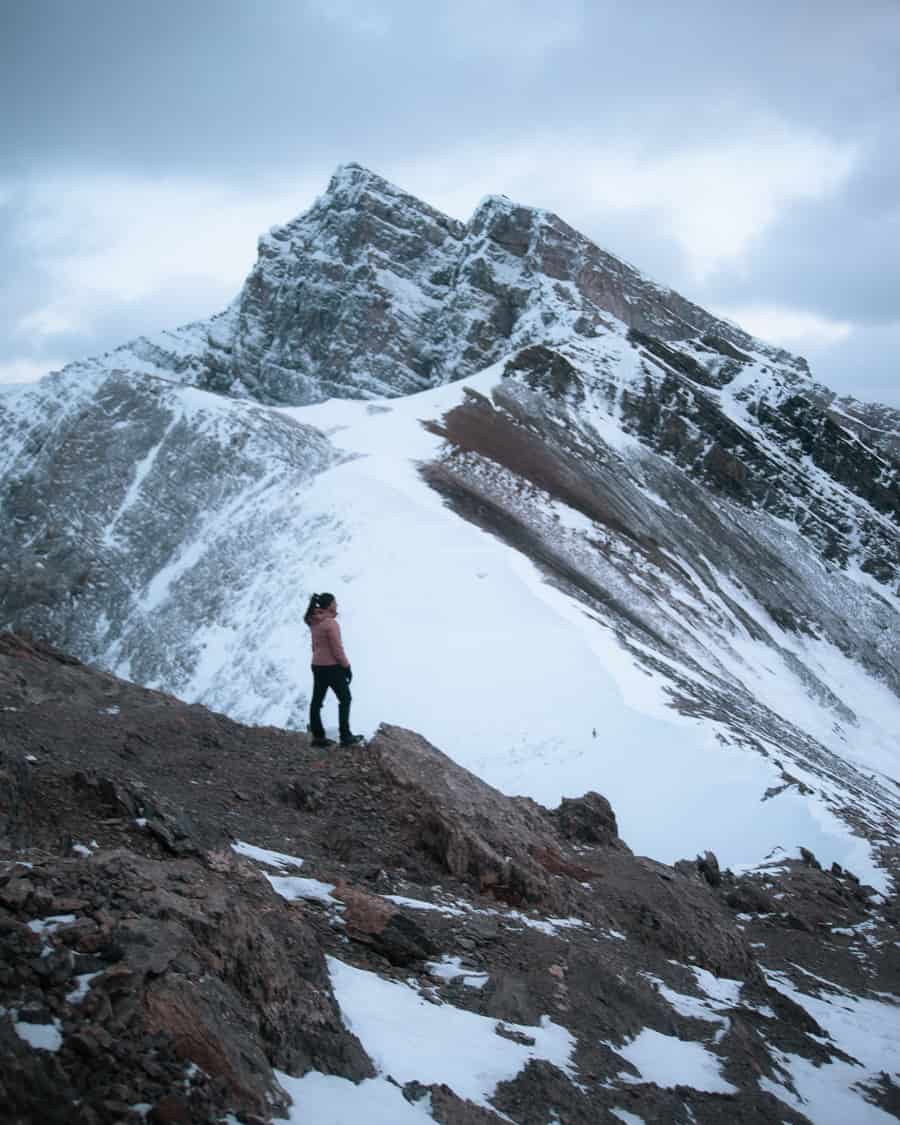
Distance: 7.4 km round trip
Elevation Gain: 791 meters
Location: Near Canmore
Also near Canmore, the Ha Ling Peak trail starts at the same Goat Creek Parking lot as the East End of Rundle hike. You just cross the street and go up the hill into the forest to start the hike. The trail is pretty well marked and maintained so you should have no issues finding your way.
Make sure to bring lots of water as the trail is steep and can get challenging on a hot day. Once you reach the top you will be rewarded with stunning mountain views. It can also get chilly at the summit so bring a windbreaker with you!
Tent Ridge

Distance: 10.1 km round trip
Elevation Gain: 830 meters
Location: Spray Valley
One of my favourites and one of the best trails in Kananaskis, Tent Ridge offers incredible views as you hike on the ridge and are surrounded by mountains. This is a loop trail so you can start on either side but we think clockwise is the way to go as it is easier to come back the other way. The hike is challenging but worth it.
You start in the forest and climb up onto the side of the mountain until you get onto the ridge. There are a lot of viewpoints here with stunning views so it is the perfect place to get your pictures!
Mist Mountain

Distance: 9.5 km round trip
Elevation Gain: 1269 meters
Location: Near Kananaskis Improvement
Mist Mountain is a summit that has a hot spring along the way that you can soak in. The hot springs are located en route on the way to the summit, the trail is pretty easy until you reach them. Note the trail is not marked so download the GPS coordinates for the road and the summit before you go. This hike starts from the side of the road and continues on to the hot springs in the forest. You really can’t beat those mountain views from there but they get even better as you hike up.
After the hot springs, the terrain gets challenging to the summit and there is a scree slope involved so have the proper hiking shoes and poles to help you on your way. The views from the top of Mist Mountain are incredible and definitely worth the struggle.
Rawson Lake
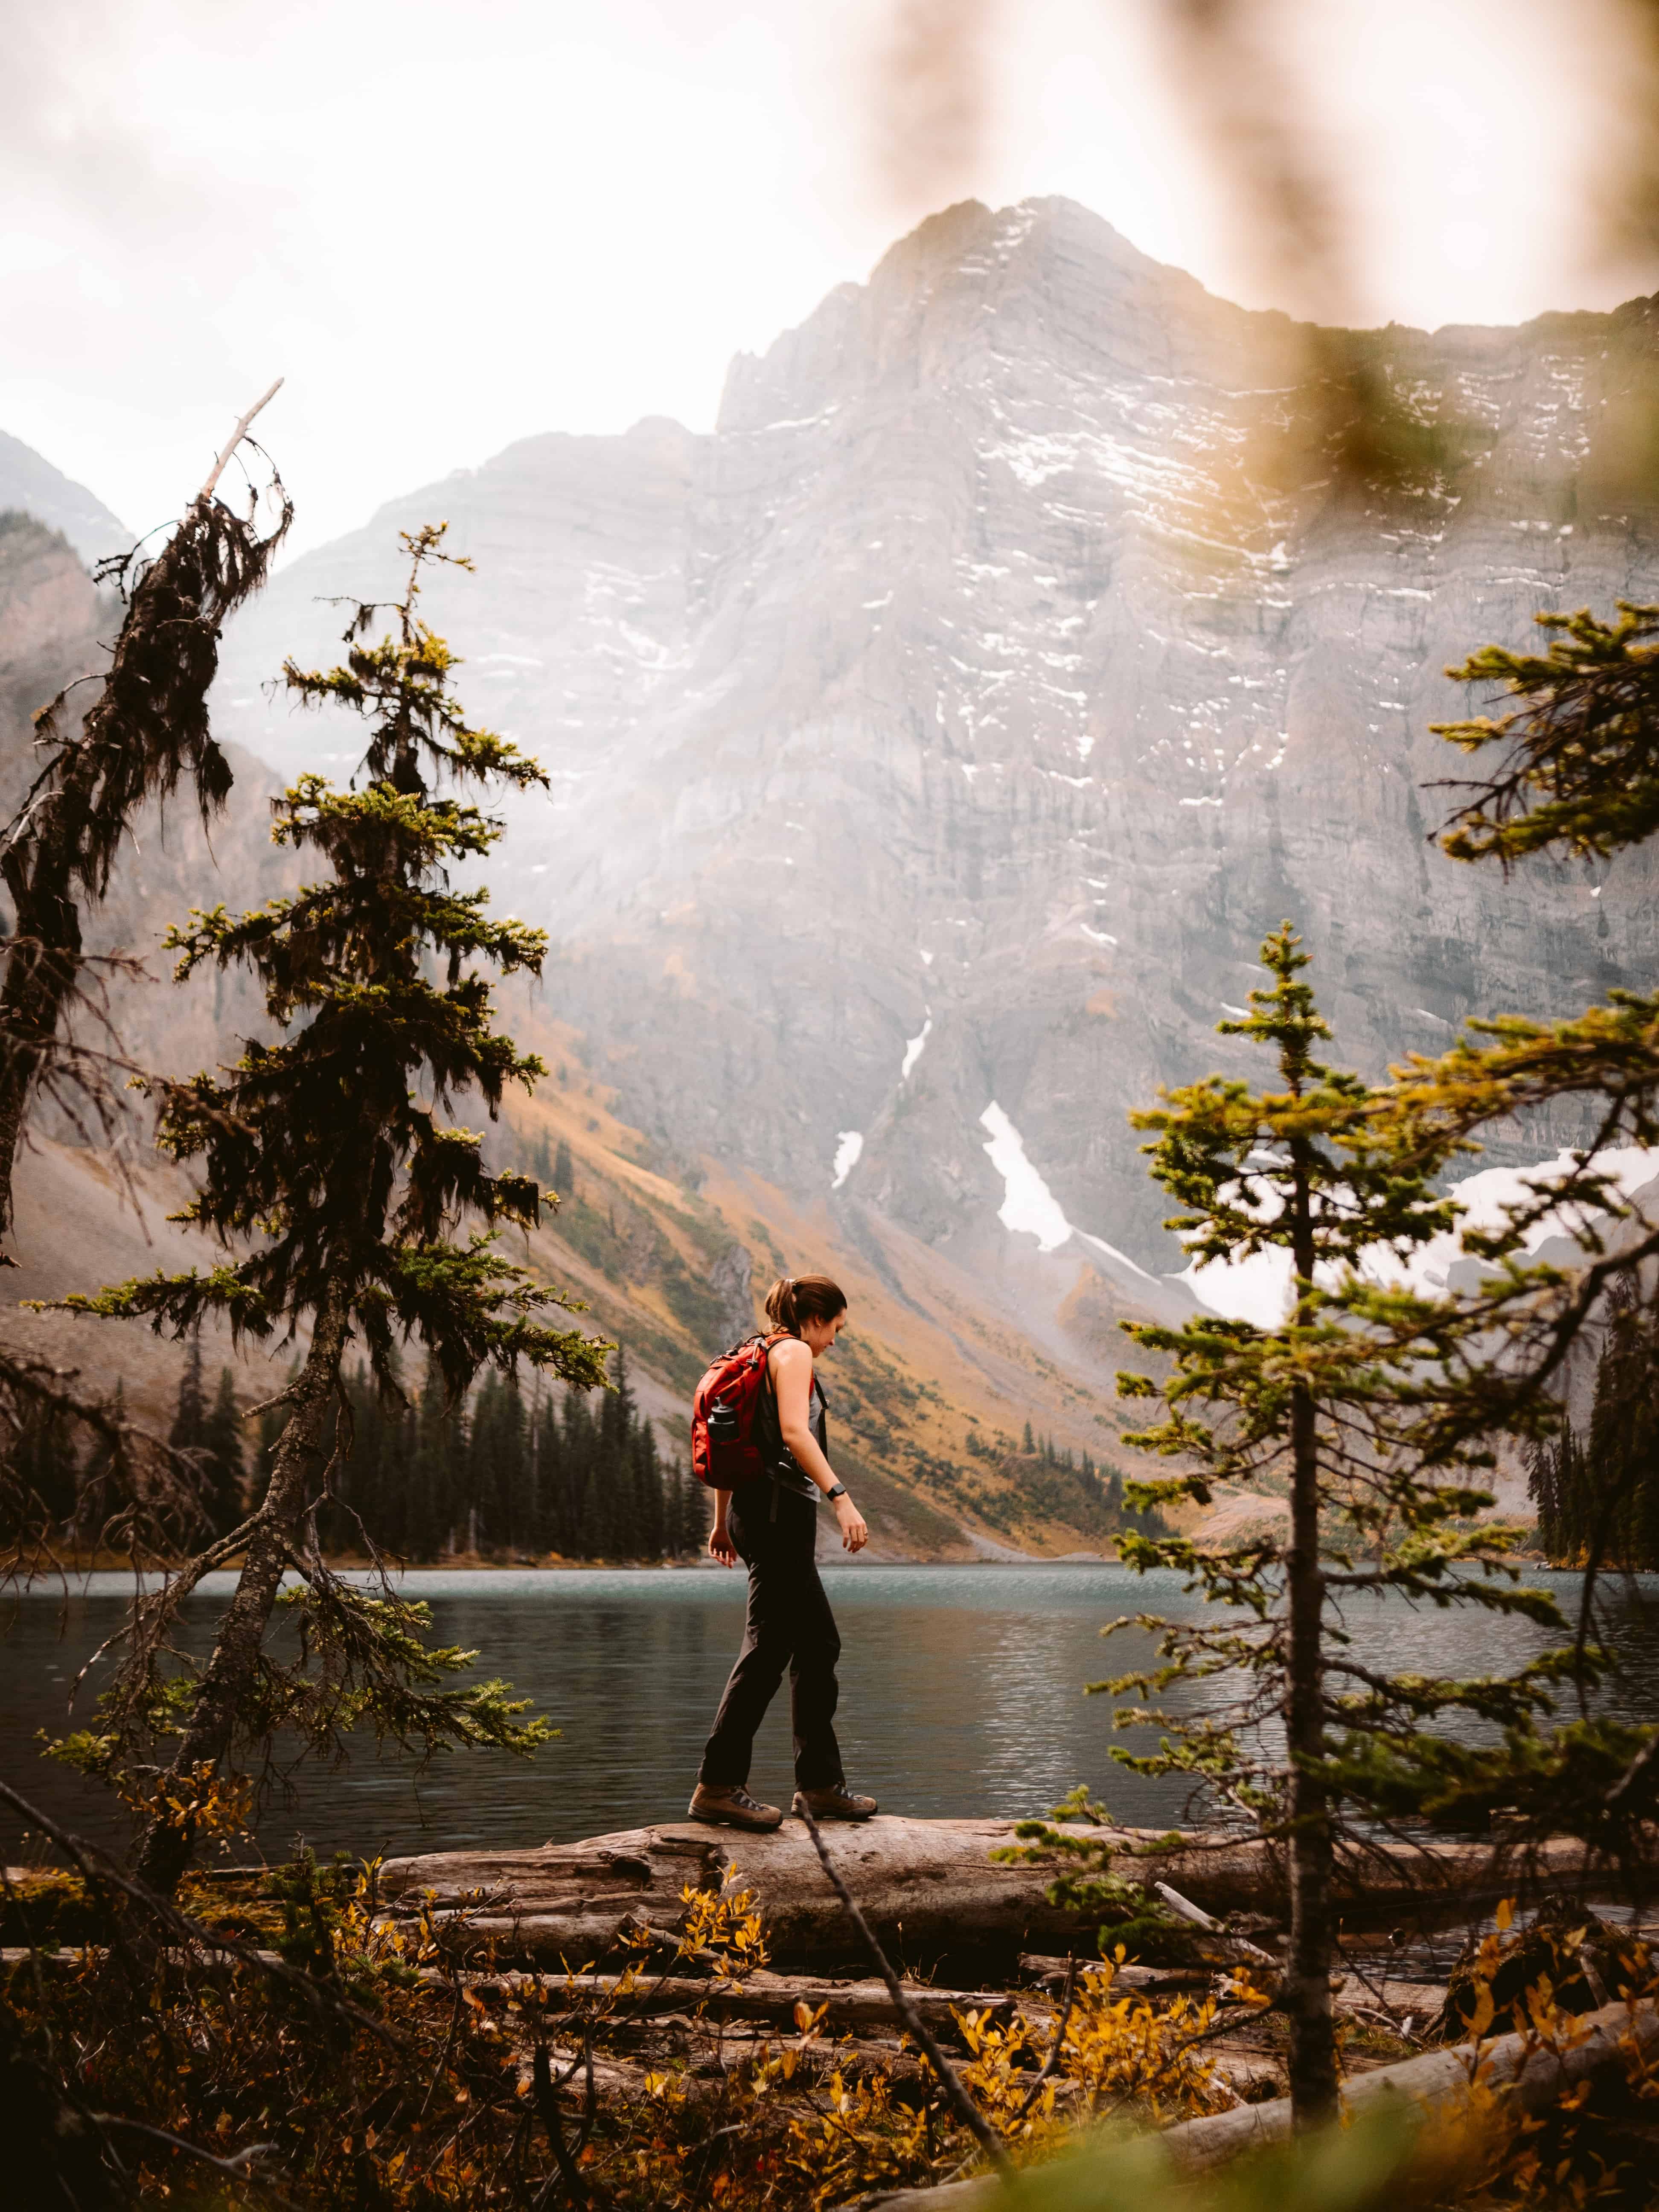
Distance: 6.8 km round trip
Elevation Gain: 526 meters
Location: Near Kananaskis Improvement
Rawson Lake is a beautiful lake and trail to explore in Kananaskis. It is great in all seasons, especially summer and fall, but make sure to get there early as it gets busy as well as to find parking. The hike to the lake is not that hard and it is pretty moderate. It is better to hike in a group in this area as it is known that grizzlies frequent the area. Also, make sure to check online to see if the hike is open as it can be closed due to bear activity.
Sarrail Ridge
Distance: 11.4 km round trip
Elevation Gain: 1048 meters
Location: Near Kananaskis Improvement
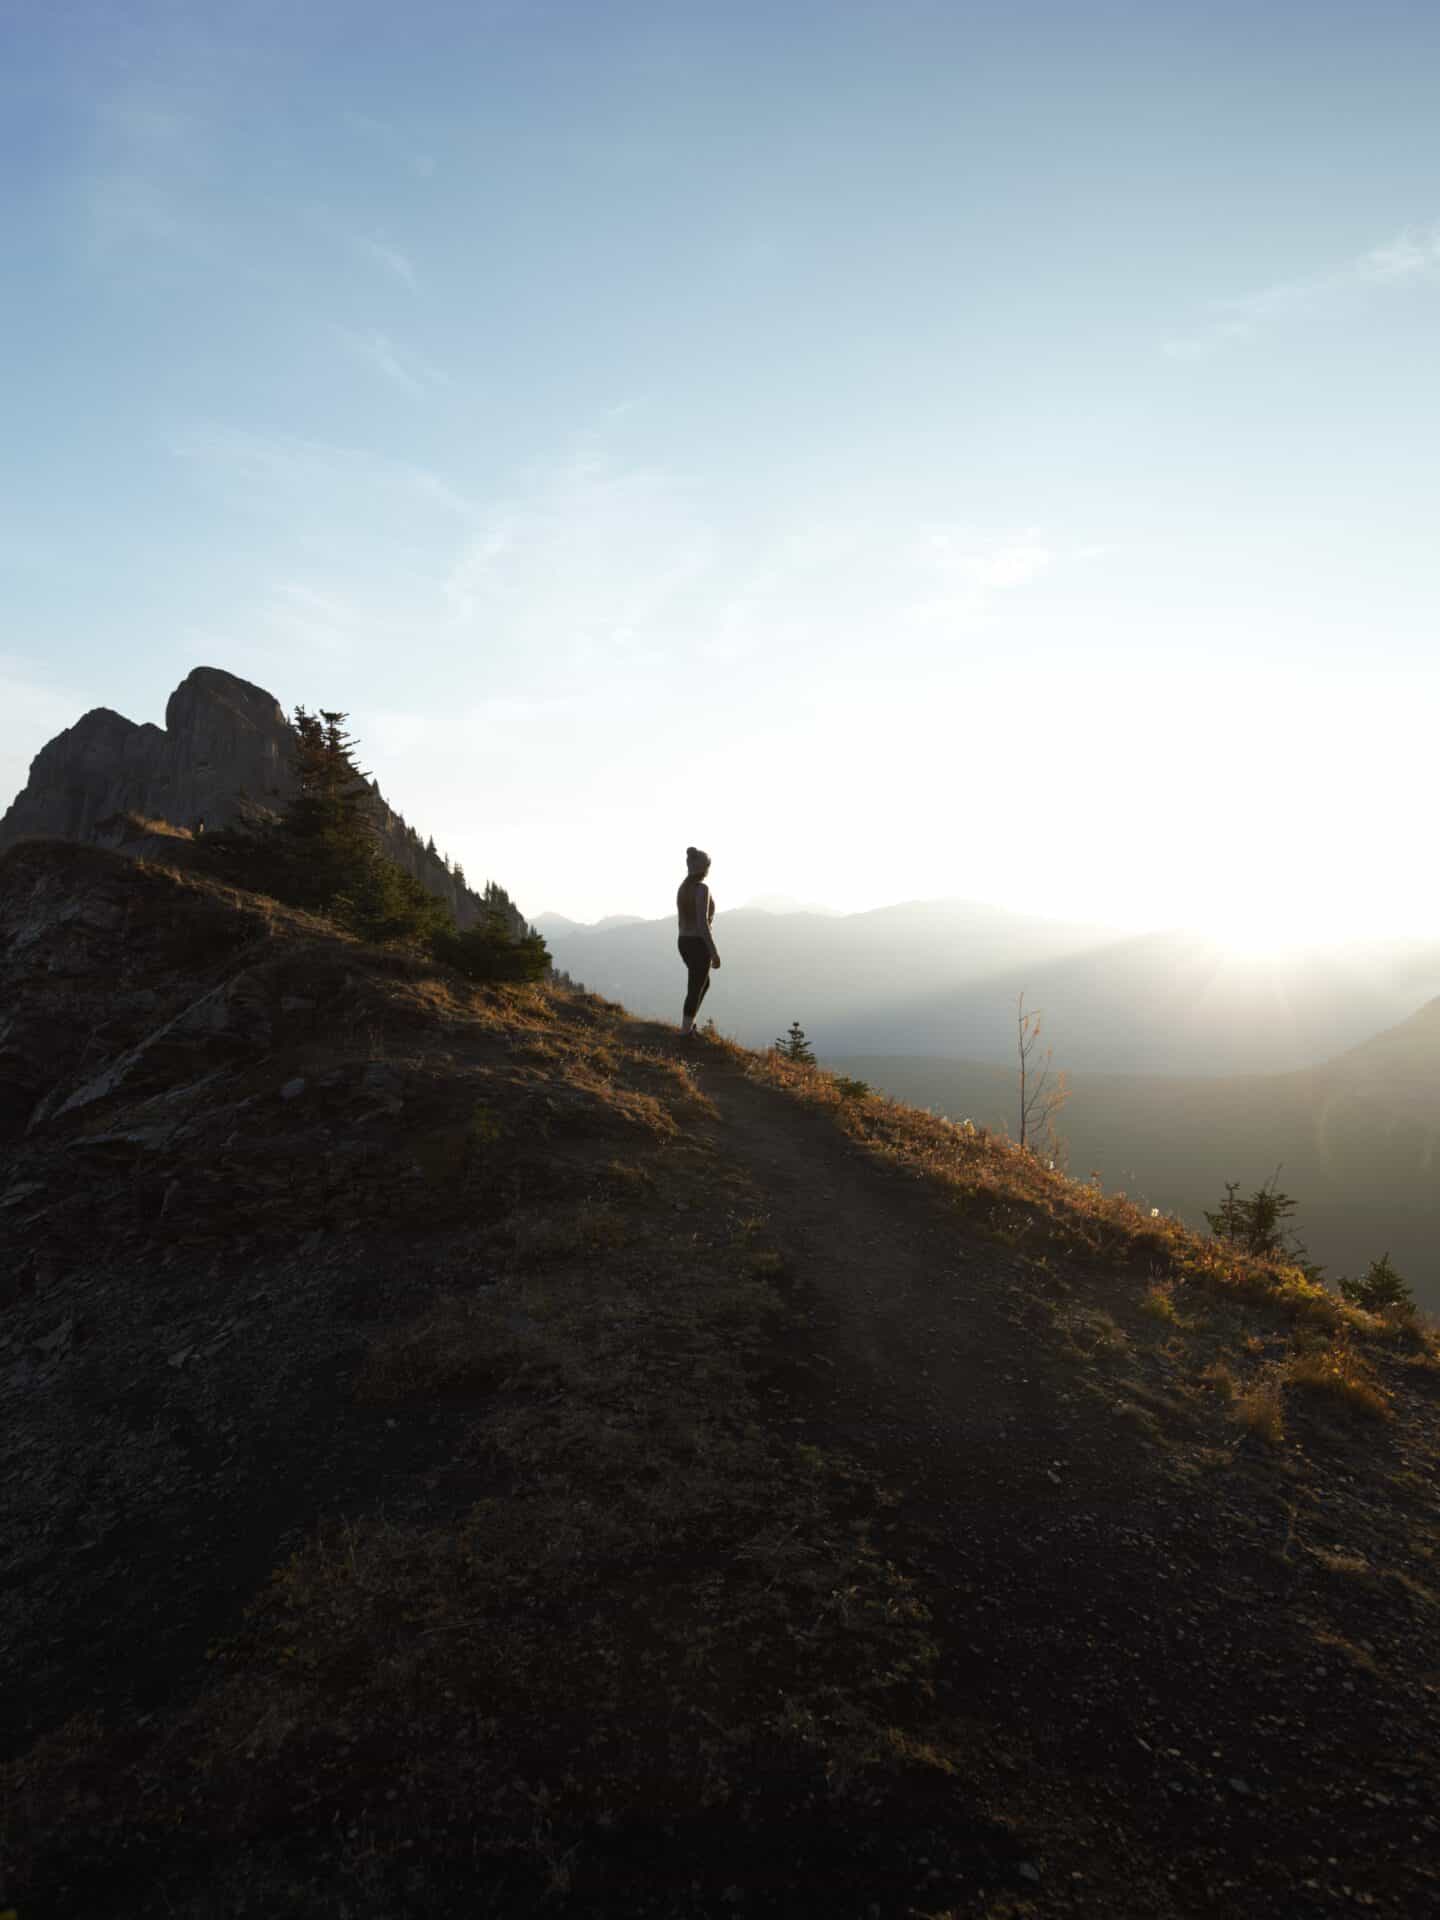
Sarrail Ridge is in the same area as Rawson Lake and it is definitely worth it to hike up to the ridge to get a chance to see some more stunning views. If you ever have done Panorama Ridge in BC, I would say the views definitely reminded me of that.
The hike is challenging as it is quite steep after Rawson Lake so hiking poles are necessary for this part! I would recommend going in a group as this is grizzly territory and always check to see if the area is open before you go. Once you reach the ridge, you will be treated to 360 mountain views.
King Creek Ridge
Distance: 6.9 km round trip
Elevation Gain: 800 meters
Location: Peter Lougheed Provincial Park
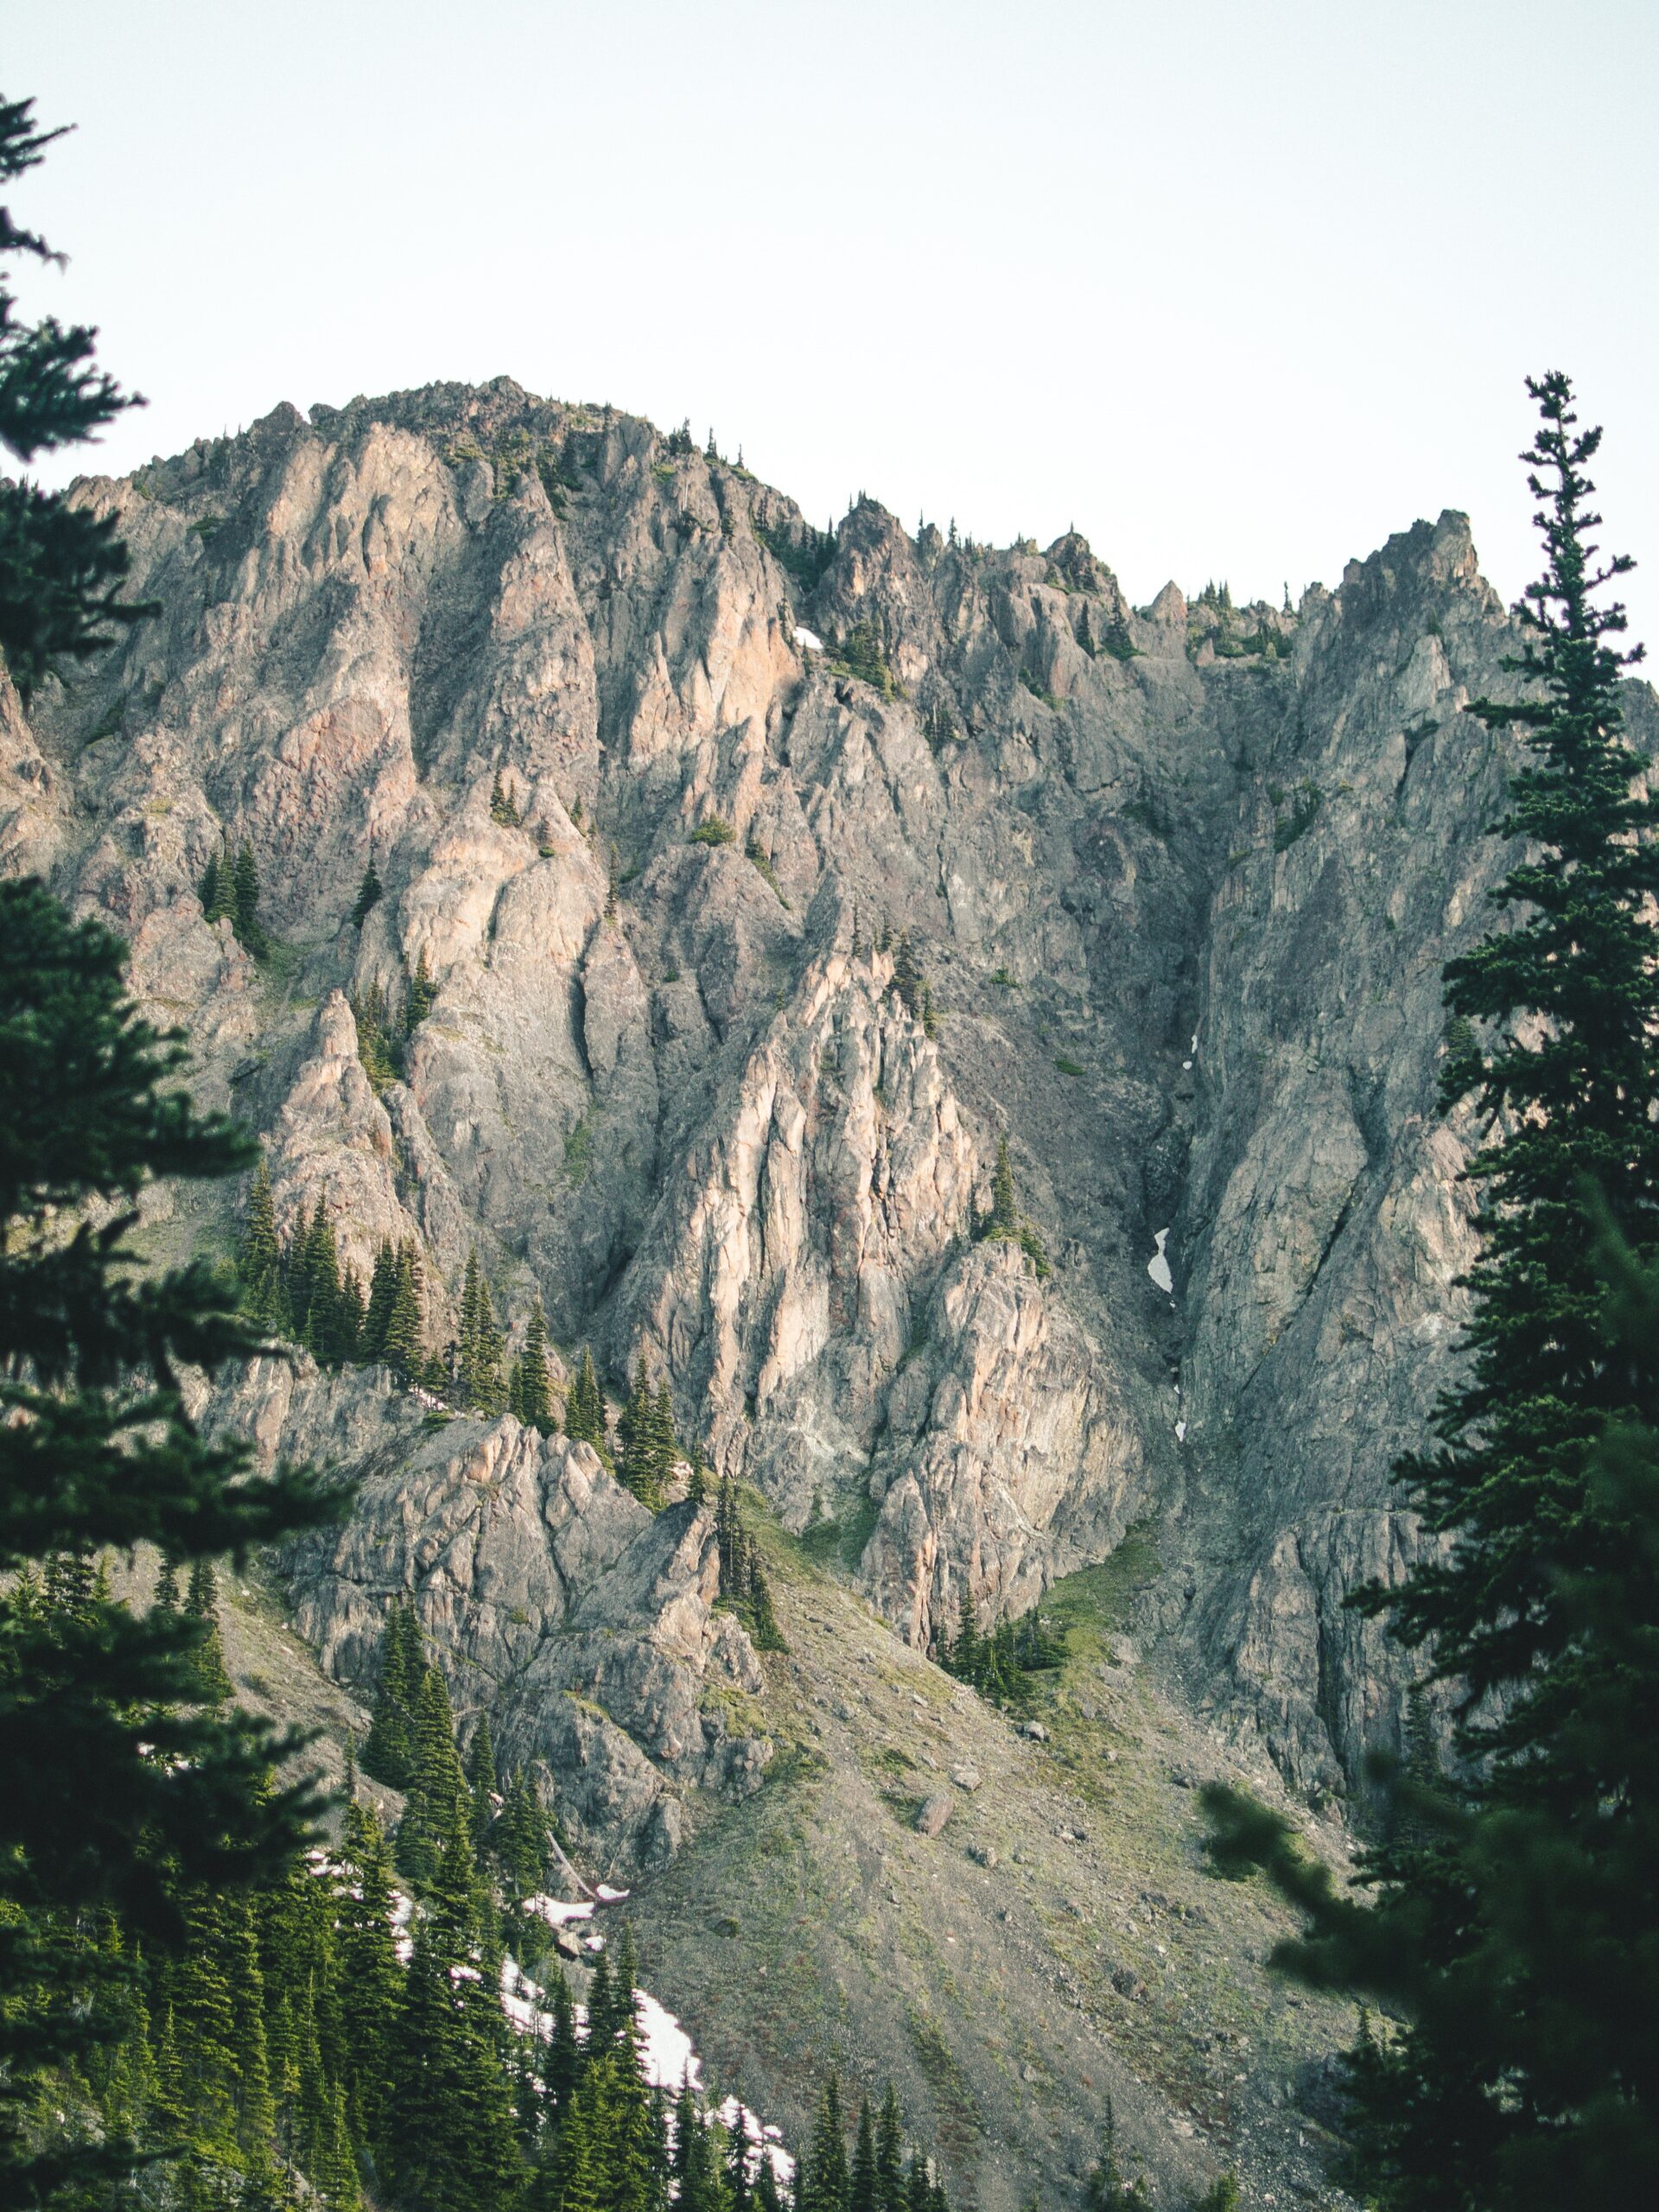
King Creek Ridge is a hike in Peter Lougheed Park that offers stunning mountain views once you get to the ridge. This hike is best done in the summer or early fall once all the snow is gone.
This hike is super steep and considered very challenging as it is a leg burner until you reach the ridge where you can catch a break and enjoy the stunning views. There is route finding involved as there are no markers so make sure you have the offline maps with you. This hike is definitely worth the climb and effort.
Mount Smutwood
Distance: 17.9 km round trip
Elevation Gain: 964 meters
Location: Kananaskis Country
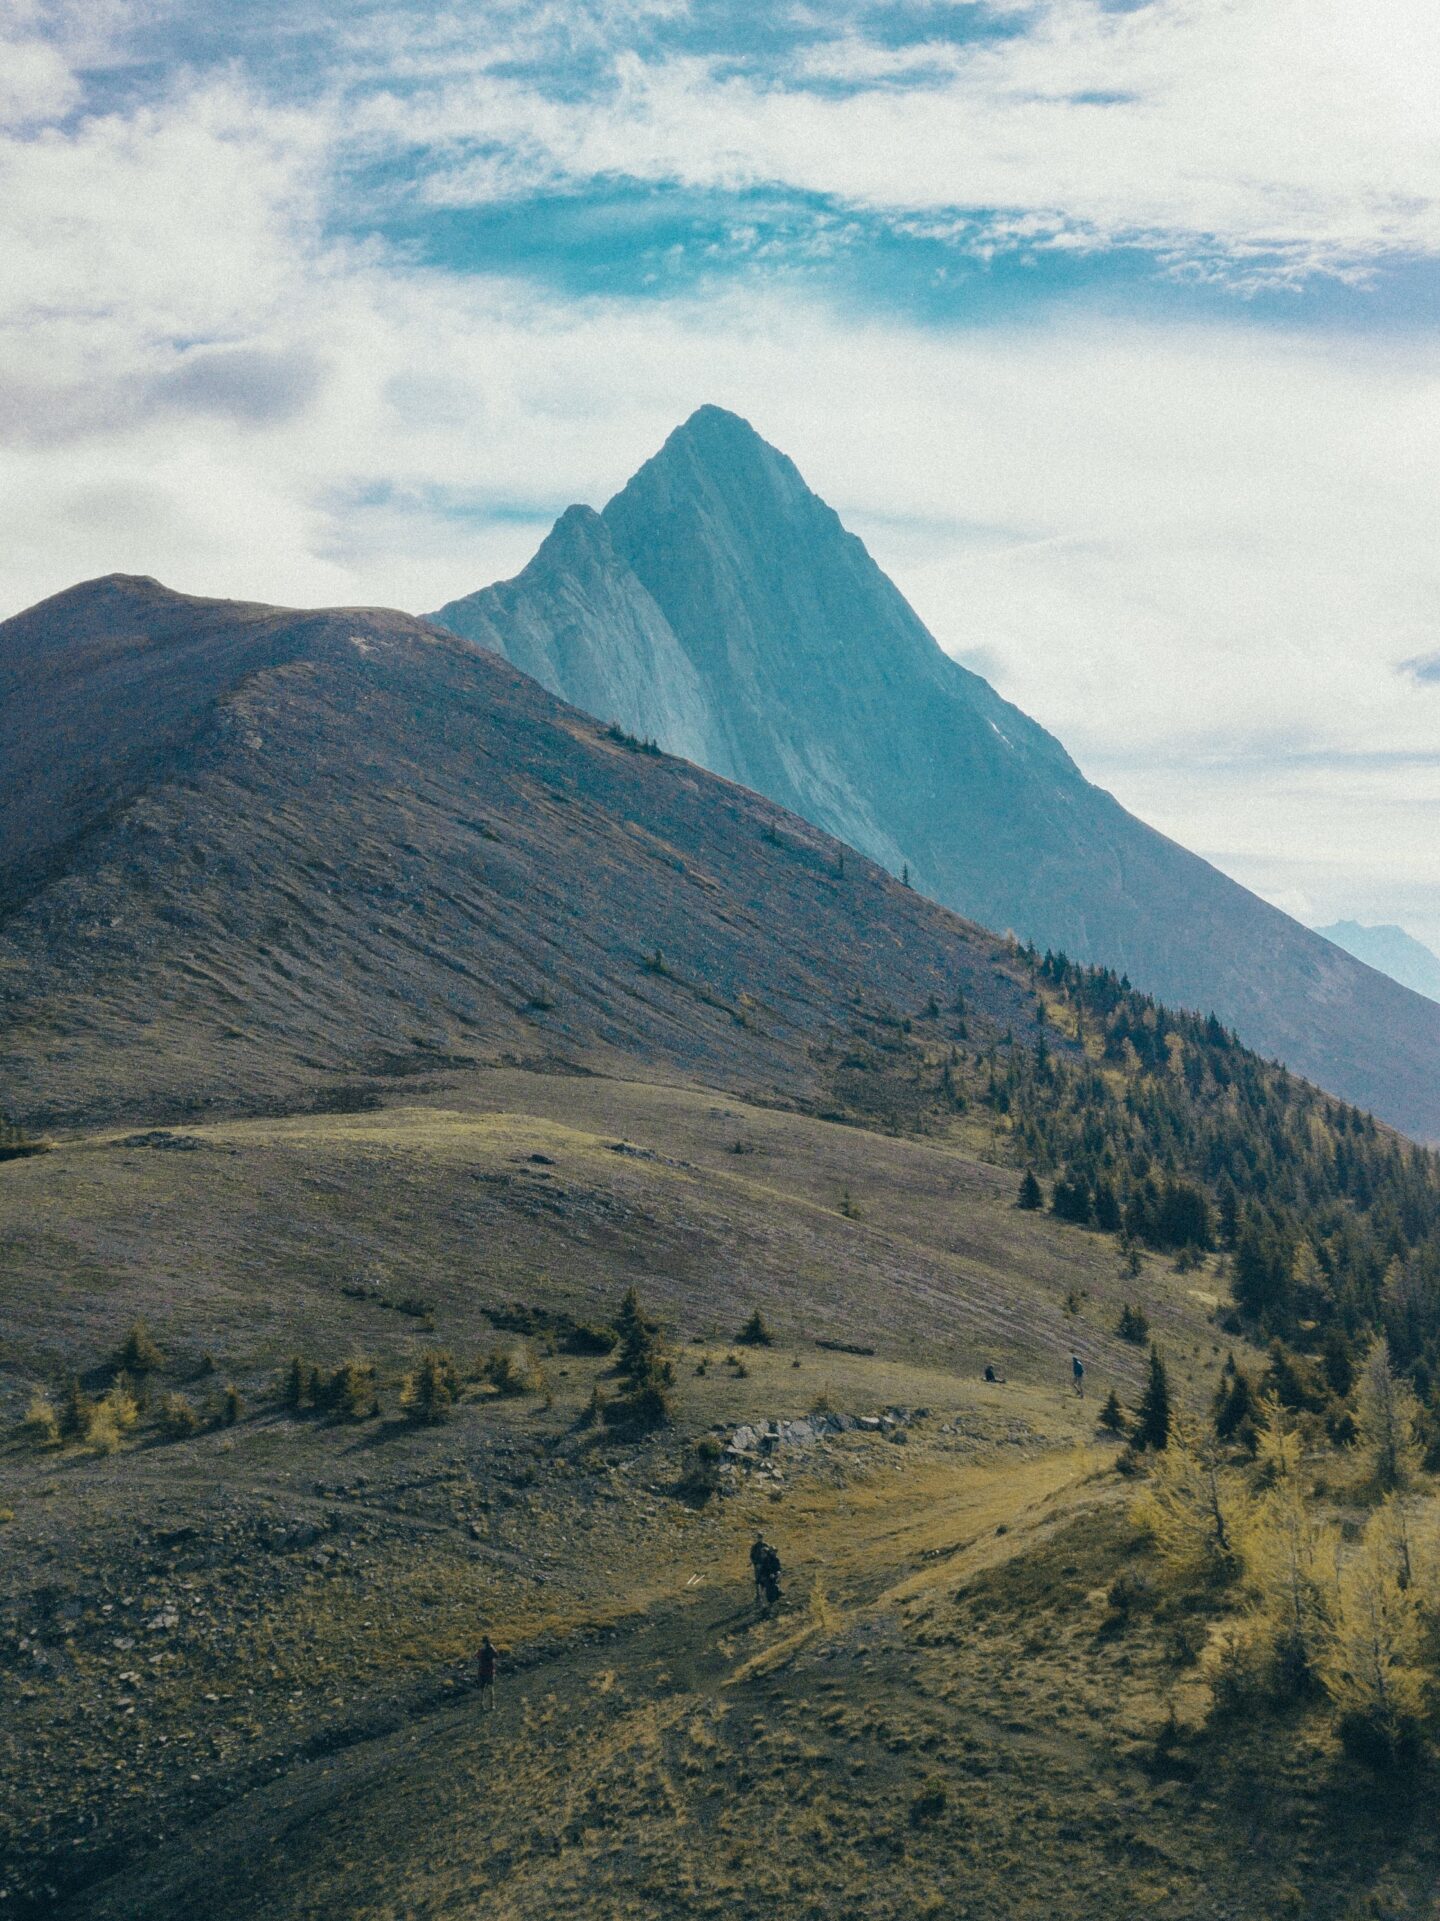
One of the iconic trails in Kananaskis and can easily be named the best trails in Kananaskis. Hiking Mount Smutwood is not easy by any means and involves some scrambling (so be prepared for that) but it is worth the struggle to get to the summit and see the stunning Birdwood lakes and Mount Birdwood in the distance.
You start the hike in the forest, passing meadows and lakes. When you reach Smuts Pass then it gets steeper and more difficult. As you gain the saddle you can stop to enjoy the views of the lakes here. The rest of the hike is to the summit which is not as bad as it looks, and once you get up the views are some of the best views of the Kananaskis.
Insider Tips for the Best Trails in Kananaskis
Be Bear Prepared
Is it important to note that Kananaskis has more backcountry and is more remote than some areas in Alberta like Banff, so there is a potential that you may encounter wildlife? You should always be prepared when heading out by carrying bear spray and hiking in a group with others. Some trailheads will list the number of people to be with as they are updated with bear sightings. Do not attempt to hike alone in these areas as it can be dangerous. Some other wildlife you may see are mountain goats, sheep, and elk.
Practice Leave No Trace Principles
I would also like to remind you that it is important when you are out in the backcountry to know about the 7 Principles of Leave No Trace. You can educate yourself on them and how you can leave no trace in the backcountry. I always pack out everything that I pack in and make sure that I stay on the marked trails. You can learn more about LNT principles here.
Safety and Gear Recommendations for the Best Trails in Kananaskis
It is important to pack the 10 essentials when you go on any hiking trip to ensure that you have everything you need in case you run into an emergency. For clothing, make sure to pack some layers and a jacket as the weather can be unpredictable, especially at higher elevations. Feel free to take a look at my backpacking guide and what to bring in more details, if you are planning to hike or backpack in Kananaskis here. Some key things to pack are:
✅ Base Layers (Like this one!)
Base layers are so important when hiking in Kananaskis, as you will be in higher elevations and the conditions can change all the time. Having more layers will help you stay warm if it gets cold all of a sudden in the Rockies.
✅ Shell/Rain Jacket (Like this one!)
A good shell and windproof rain jacket will protect you and your layers from the conditions in Kananaskis trails. You never know when it will be windy or rainy once you get to the top. Usually, it is always windy at the peaks, I remember one summer I hiked up Tent Ridge and it was windy and chilly even on a hot summer day.
✅ Waterproof Hiking Boots (Like these ones!)
Warm waterproof hiking boots will keep your feet dry and prevent them from getting frostbite. They also supply extra insulation with a good pair of thick socks compared to regular hiking boots.
✅ Hiking Poles
Hiking poles are a must when you are hiking in Kananaskis as most hikes here have steep inclines with scree and loose rocks so you will need them to help you on the way up and on the way down. I have been using these ones for the past few years and they still are going strong!
✅ Headlamp (Like this one!)
Always carry a headlamp or extra with you as you may end up hiking back in the dark or if you plan to hike for sunrise in Kananaskis. Since most hikes may take longer than expected or if you do sunset or sunrise hikes, always take a headlamp with you.
✅ Sunglasses (Like these ones!)
A good pair of sunglasses will help you in the summertime in Kananaskis and hiking in the mountains, if there is snow left over then the sun can reflect more UV rays and it is always important to keep your eyes protected.
Another tip is to always check the conditions before. You can find recent trail updates on AllTrails and weather websites such as AccuWeather and Mountain-Forecast. Finally, always let someone know your planned route and expected return time. With these insider tips, you’ll be ready for a safe and enjoyable hiking experience in Kananaskis.
Conclusion: Best Trails in Kananaskis
When you are hiking these areas in Kananaskis, your priority should be safety always. Make sure to bring the right gear such as good hiking boots, layers, and a first aid kit. Always check the conditions before you go and make sure you read trail reports before you start so you are well prepared. It is always useful to download the trail offline and plan alternate routes if something does come up.
Make sure you leave your trip plan with someone so that they know where you are. Note that there is usually no service in the backcountry so carrying a GPS or satellite device can be useful. By taking all these safety factors into consideration before your trip, you can ensure that you will have an amazing time in Kananaskis hiking the best trails!